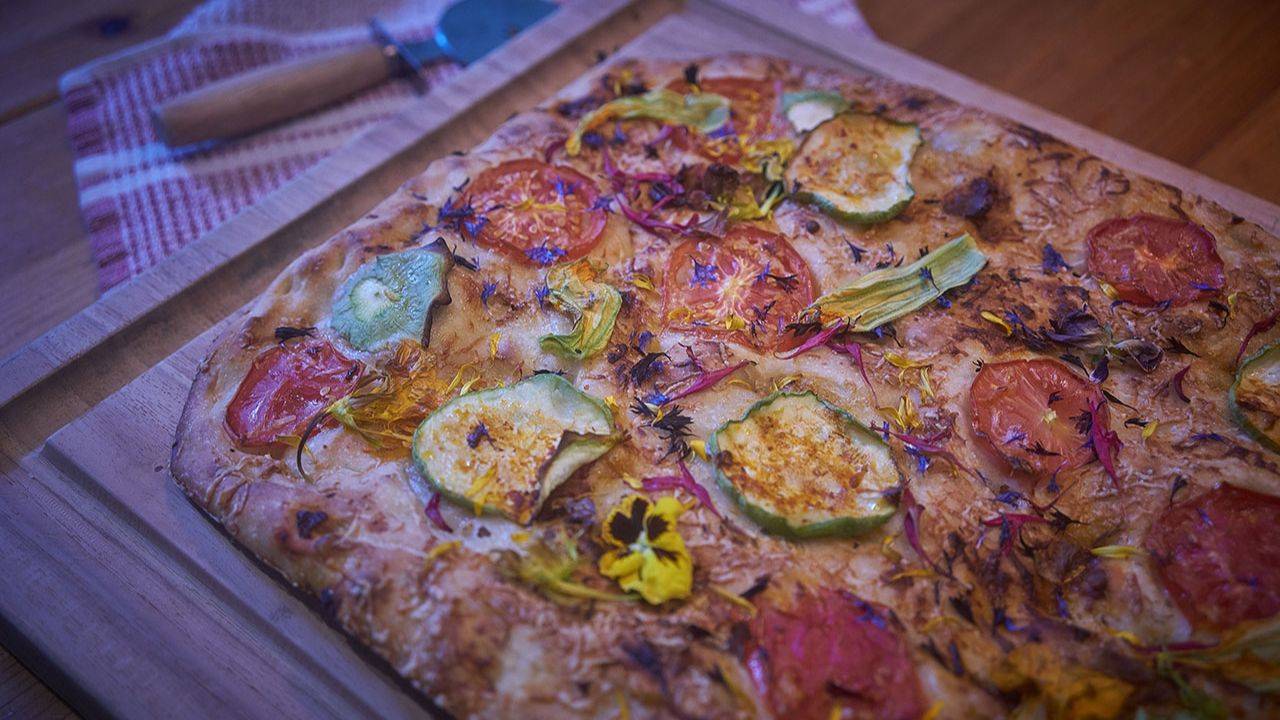
How to Make Flower Focaccia
Have you heard about eating a rainbow? The idea is simple: the colors found in fruits, vegetables, herbs, and edible flowers often reflect different groups of phytonutrients. While no color can single-handedly support a particular body system, a colorful diet generally provides a wider variety of nutrients, antioxidants, and phytochemicals than a monochromatic one. It's a concept Rosalee de la Forêt has explored before, and one that has gradually become a habit in our home as well.
It's a wonderful concept. In reality, eating a rainbow can't really happen where I live until at least mid- to late July if the goal is to eat local, seasonal food. Early summer is mostly various shades of green.
Fortunately, nature has a solution. That's where flower focaccia (and flower everything, for that matter) comes into the picture.
Edible flowers offer an endless range of hues, flavors, and scents. They don't just make food prettier; they also contribute their own pigments, flavonoids, antioxidants, and other beneficial phytonutrients. While flowers aren't eaten in large enough quantities to replace vegetables, they can broaden the diversity of nutrients and phytochemicals in a meal, adding another splash of color (and a little more rainbow) to the table.
Scatter a generous handful of edible flowers over a cake, loaf of bread, or focaccia, and it's easy to get red, orange, yellow, green, blue, and violet all in one place. Together, they contribute a wider variety of beneficial plant compounds traditionally associated with everything from healthy circulation and skin nourishment to digestive and immune support. Until the tomatoes, peppers, and everything else finally catch up, flowers do a pretty good job of filling in the gaps. And that's how one survives the hungriest weeks of summer, when the garden is full but the pantry is still looking a little bare.

Summer Flower Focaccia Bread Recipe
Crisp on the outside and soft and airy on the inside, this flower focaccia is as enjoyable to make as it is to eat. This simple recipe turns edible blossoms into a colorful meal at a time when the garden is mostly producing various shades of green. Best of all, it helps pass those early summer weeks when gardening consists mostly of watering things and waiting.
What you'll need...
- 4½ cups bread flour — you can substitute up to half of it with other flours if you like, but keep at least half as white flour.
- 2 teaspoons kosher salt
- 1¼ teaspoons active dry yeast
- 2 cups cold water
- 1 tablespoon olive oil
- 1 tablespoon honey or granulated sugar
- Optional toppings: dried or fresh herbs such as rosemary leaves, thyme leaves, basil leaves; flavor boosters like garlic cloves, caramelized onions, flakey salt, red pepper flakes, herb oil, chili oil, and so on. Fresh vegetables like cherry tomatoes, bell peppers, red onions, kalamata olives, and zucchini are also wonderful, though they may add a few minutes to the baking time.
Making the Flower Focaccia Bread Dough
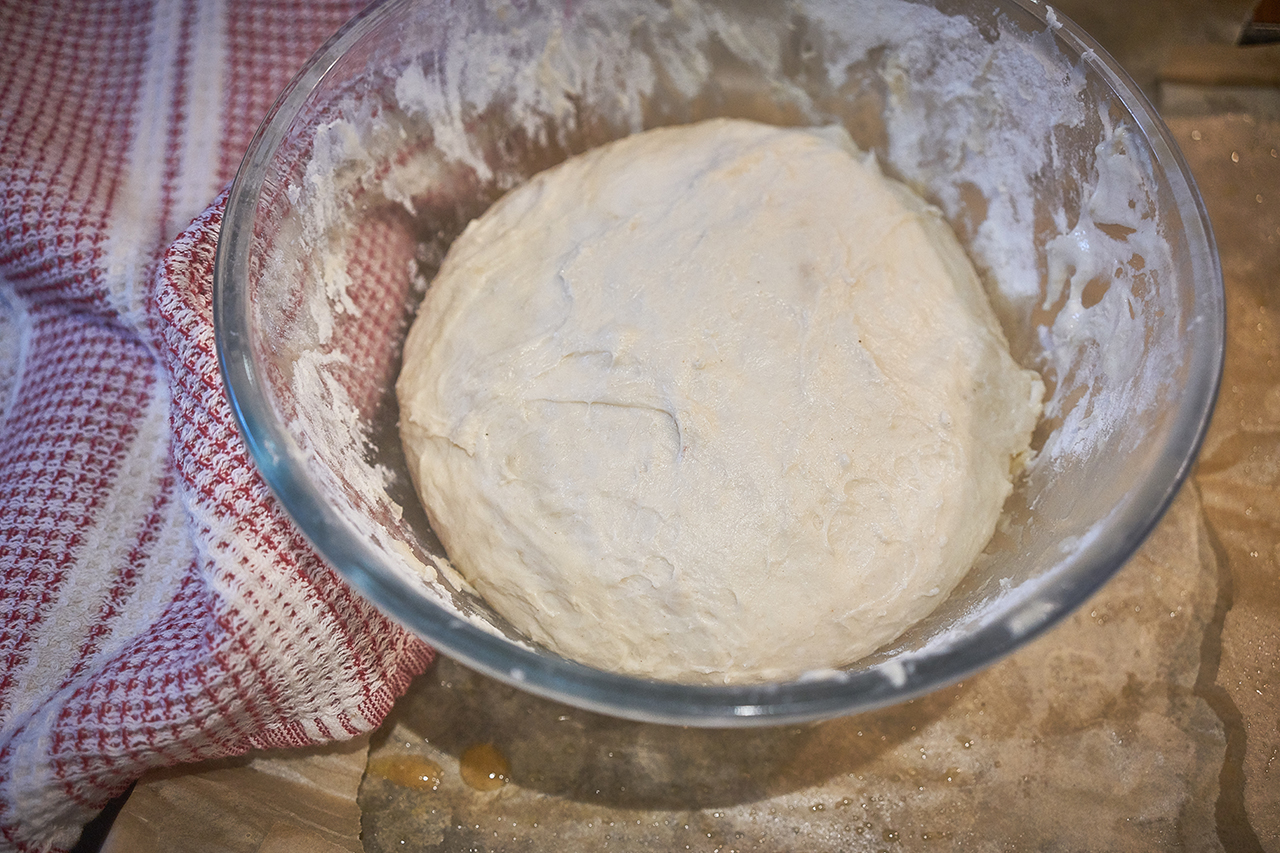
- Combine the bread flour, salt, yeast, water, and honey or sugar in a large bowl. Using a stand mixer with paddle attachment, mix on low for 1 minute. If mixing by hand, stir with a large spoon for about 1 minute until everything comes together. The dough will look rough and quite wet. Let it rest for 10 minutes.
- Add the olive oil and mix for 1 more minute on medium-low with the dough hook (or use wet hands if mixing by hand). The dough will look smoother but will still be soft and sticky. Transfer it to a clean, lightly oiled bowl, cover, and let rest for 10 minutes.
- With wet or lightly oiled hands, gently pull one side of the dough up and fold it over itself. Turn the bowl a quarter turn and repeat until all four sides have been folded. Flip the dough over and gently shape it into a ball.
- Cover and let rest for 10 minutes. Repeat the stretch-and-fold process three more times, for a total of four rounds. Try to finish all four rounds within 30 to 40 minutes. The dough will remain very soft but will feel stronger after each round.
- After the final fold, cover and let rise for 2 to 3 hours, or until doubled in size. At this point, you can shape and bake right away, or refrigerate the dough overnight for more flavor.
Shaping and Baking the Flower Focaccia Bread
- Preheat the oven to 450°F (230°C).
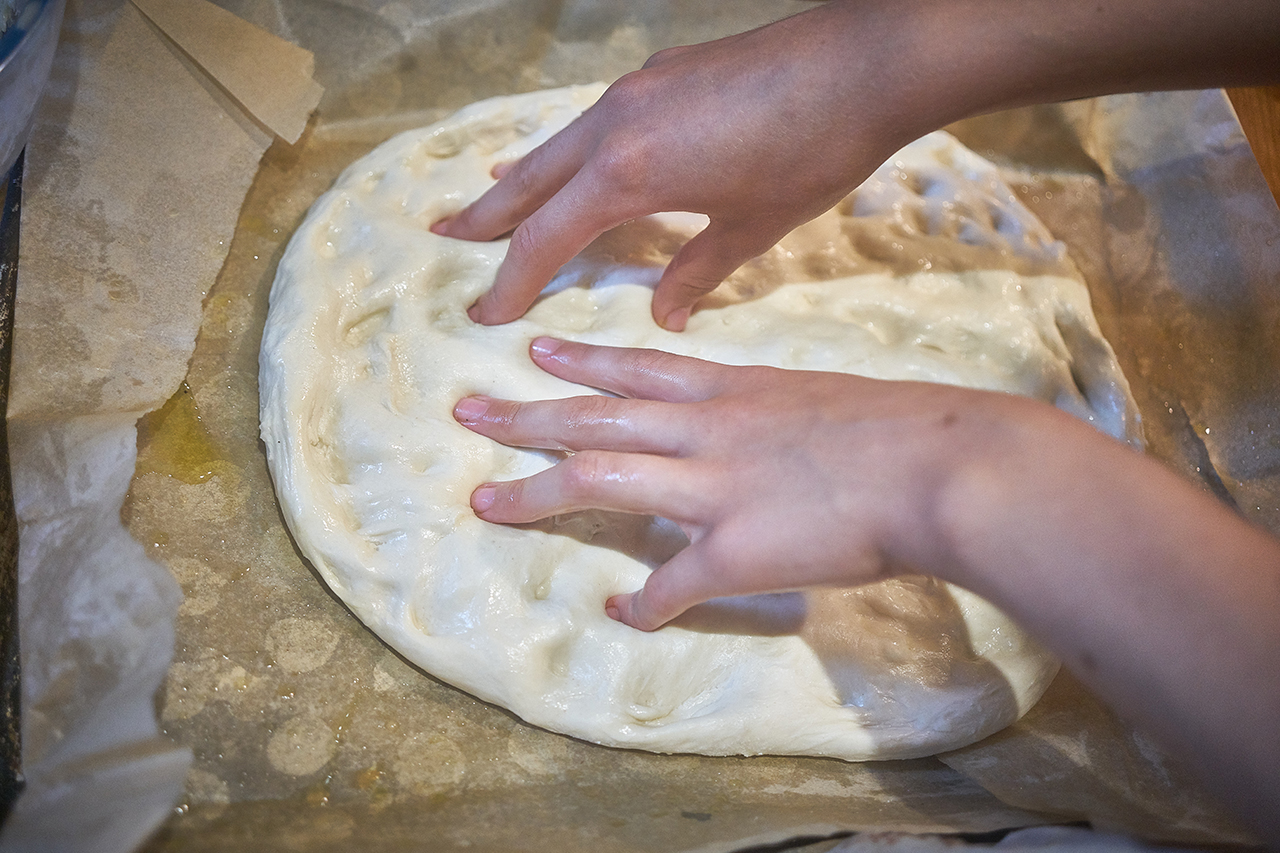
- Generously coat a rimmed baking sheet pan (about 9 × 14 inches) with olive oil – bottom and sides. Transfer the dough to the pan and flip it so both sides are lightly coated. No need to shape it yet. Cover loosely and rest for 15 minutes.
- Drizzle a little more olive oil over the dough. Starting in the center, use your fingertips to dimple it gently outward toward the edges. If it resists and springs back, let it rest another 5 to 10 minutes before continuing. Alternating between dimpling and resting is the easiest way to stretch the dough without a fight.
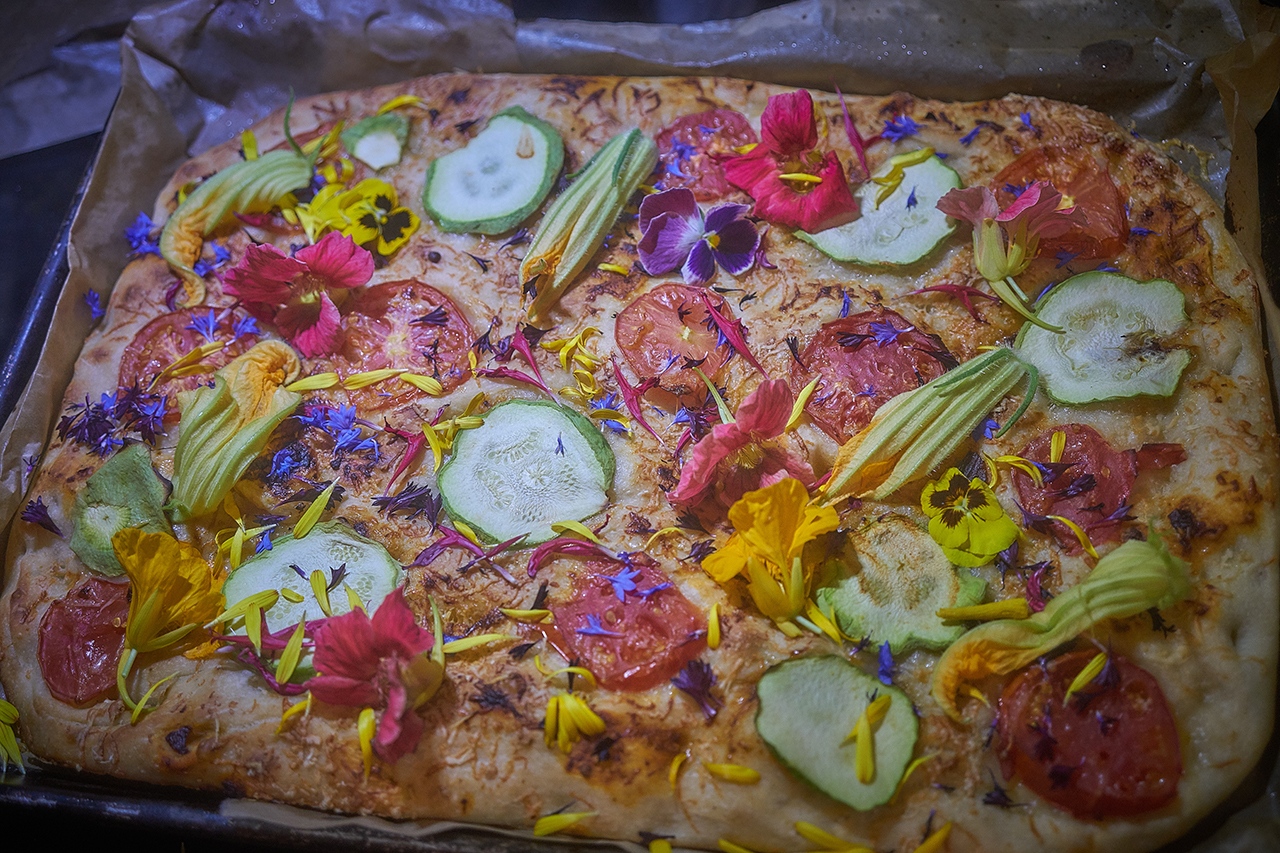
- Here is where the focaccia bread art begins! Arrange any dried or fresh herbs, vegetables, or desired toppings onto the focaccia bread dough.
- Transfer to the preheated oven and bake for 10 minutes. Rotate the pan and bake for another 10 to 15 minutes.
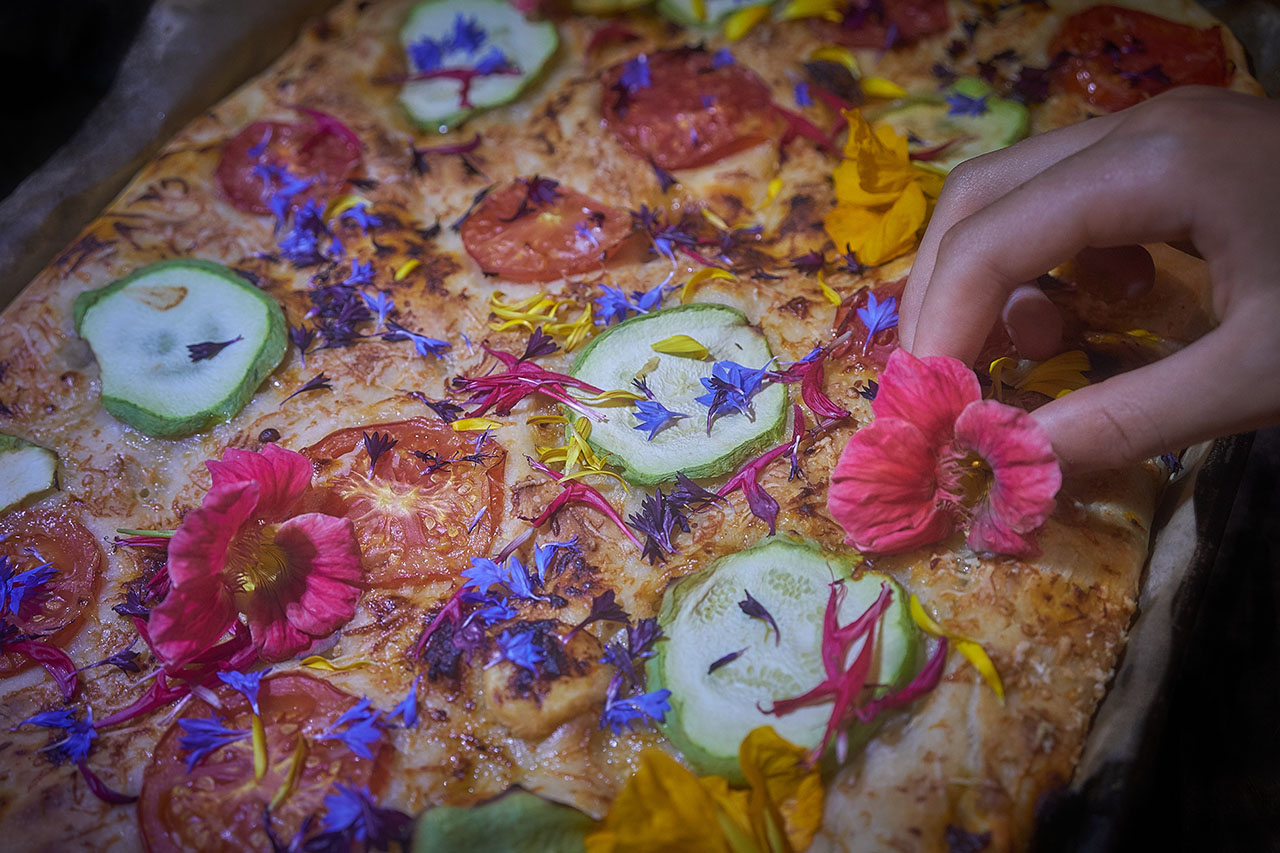
- Once the focaccia is golden brown on top – and on the bottom (lift a corner with a spatula to check) – remove it from the oven. Arrange the flowers across the surface in whatever pattern pleases you. Add grated dry cheese if using. Return to the oven for 3 to 5 minutes.
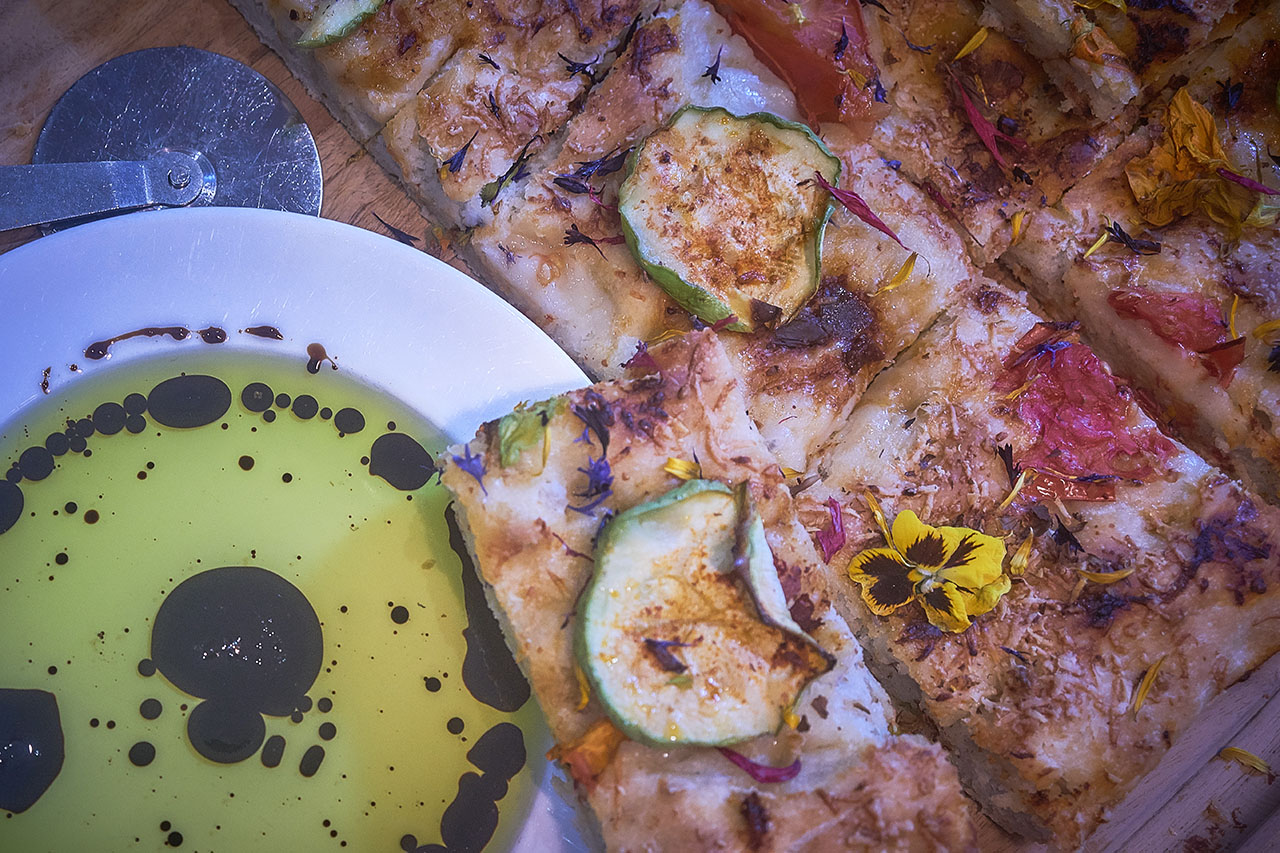
- Let cool for at least 10 minutes before slicing. A pizza wheel works well for cutting. Serve warm. Wrapped in a clean kitchen towel, the focaccia will keep at room temperature for up to 2 days. Reheat gently before serving.
Serving Suggestions
This garden art focaccia makes a wonderful summer lunch. Serve it alongside a green salad, a plate of soft white cheeses like feta or goat cheese, a small bowl of pepper jelly or chutney, and olive oil with balsamic vinegar for dipping.
It’s equally at home in fall and winter, with the toppings simply shifting with the seasons. In fall, I tend to use the abundance of harvest time, while winter calls for warming spices, more cheese, preserved foods, and starchy vegetables such as thinly sliced potatoes and other storage crops.
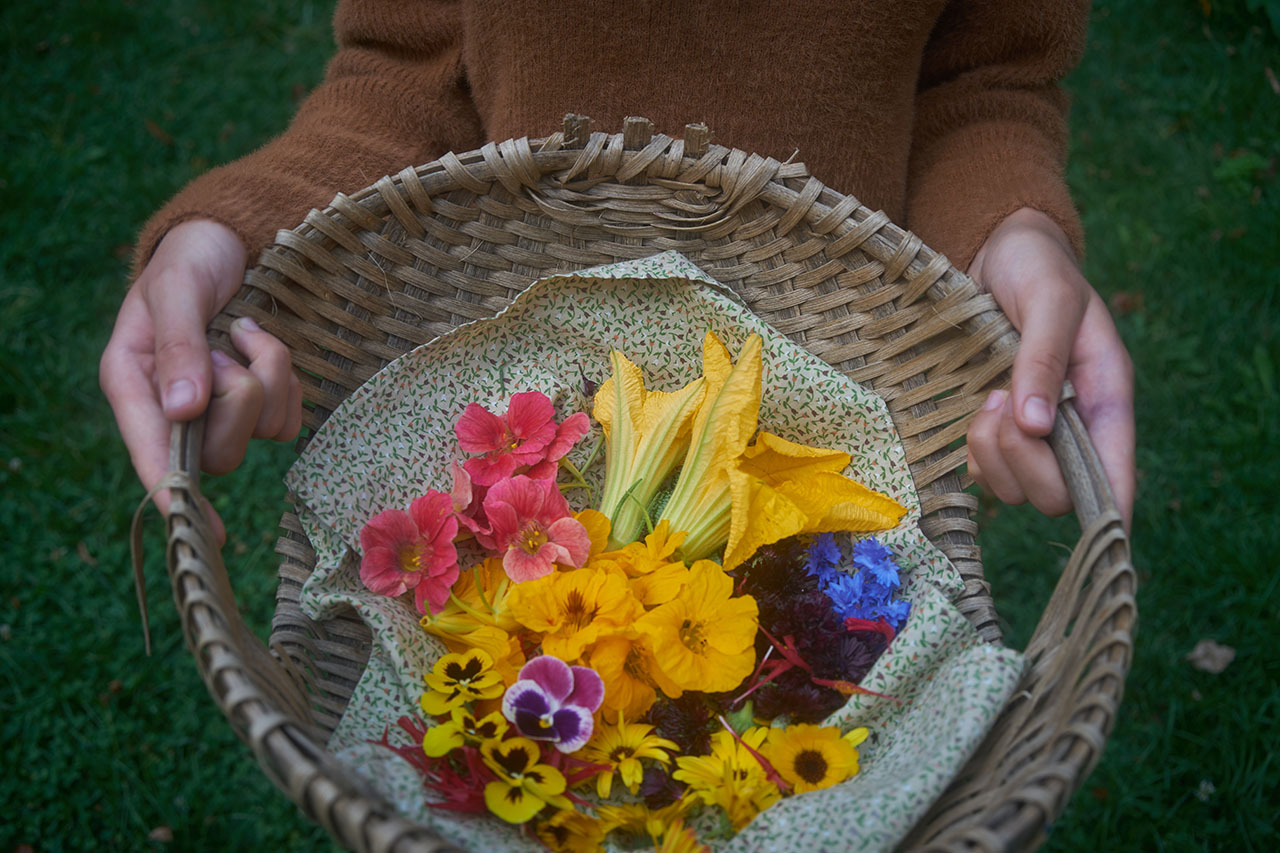
Edible Flowers for Flower Focaccia
One of the pleasures of flower focaccia is that no two loaves need to look alike. What you use depends on what's blooming, and that changes by the week. Many edible flowers grow easily in pots, making them accessible even on a small patio or sunny balcony. The flowers below are among the easiest and most useful choices for baking.
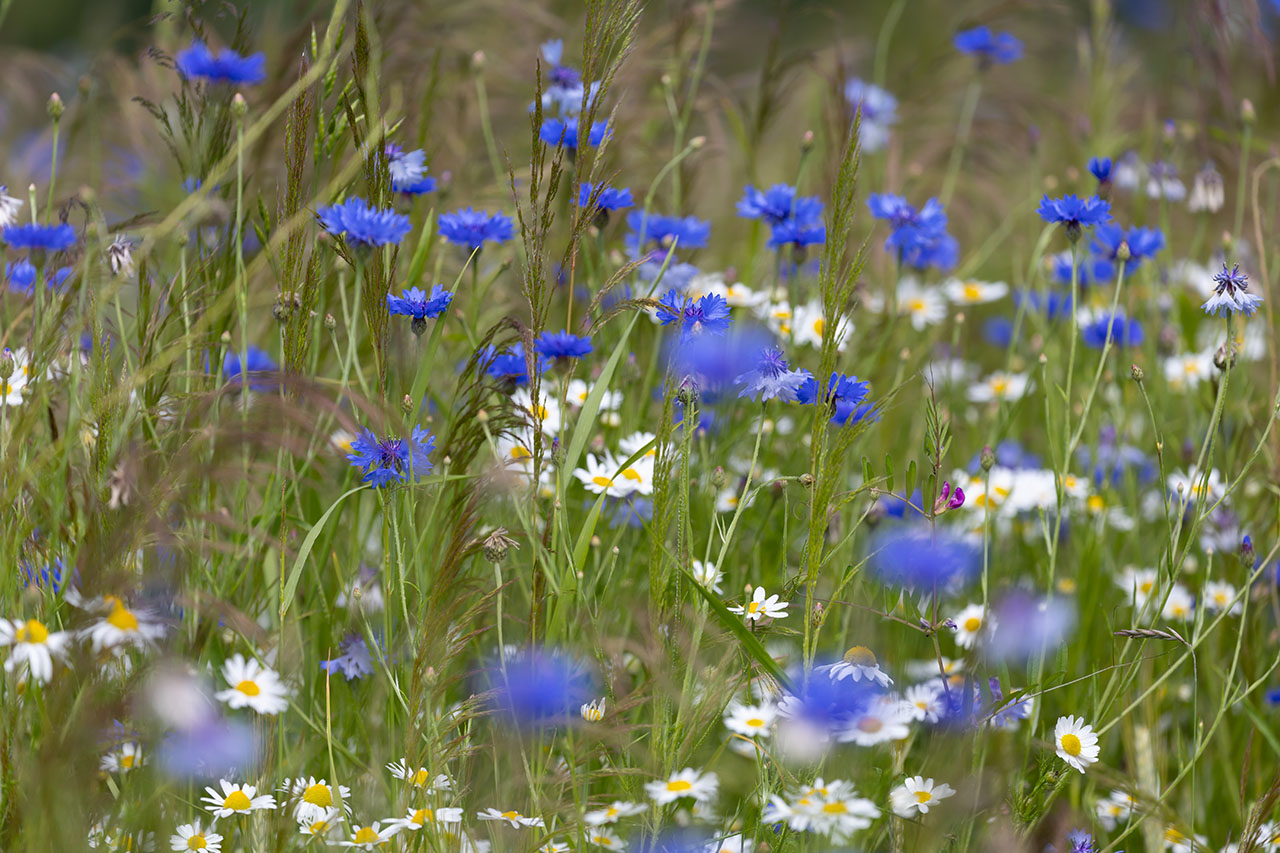
Flowers That Add Color
These flowers are often chosen primarily for their appearance. Most have mild flavors that won't compete with the bread or other toppings.
- Cornflowers – Blue, pink, purple, or white flowers that are used mainly for color.
- Violas and pansies – Available in a wide range of colors with a mild flavor.
- Violets – Delicate purple flowers with a subtle sweetness.
- Calendula petals – Yellow and orange petals that add bright color to the loaf.
- Chamomile – Small daisy-like flowers with a mild apple-like aroma.
- Borage – Blue star-shaped flowers with a light cucumber-like flavor.
- Self-heal – Purple flower spikes that add texture and color.
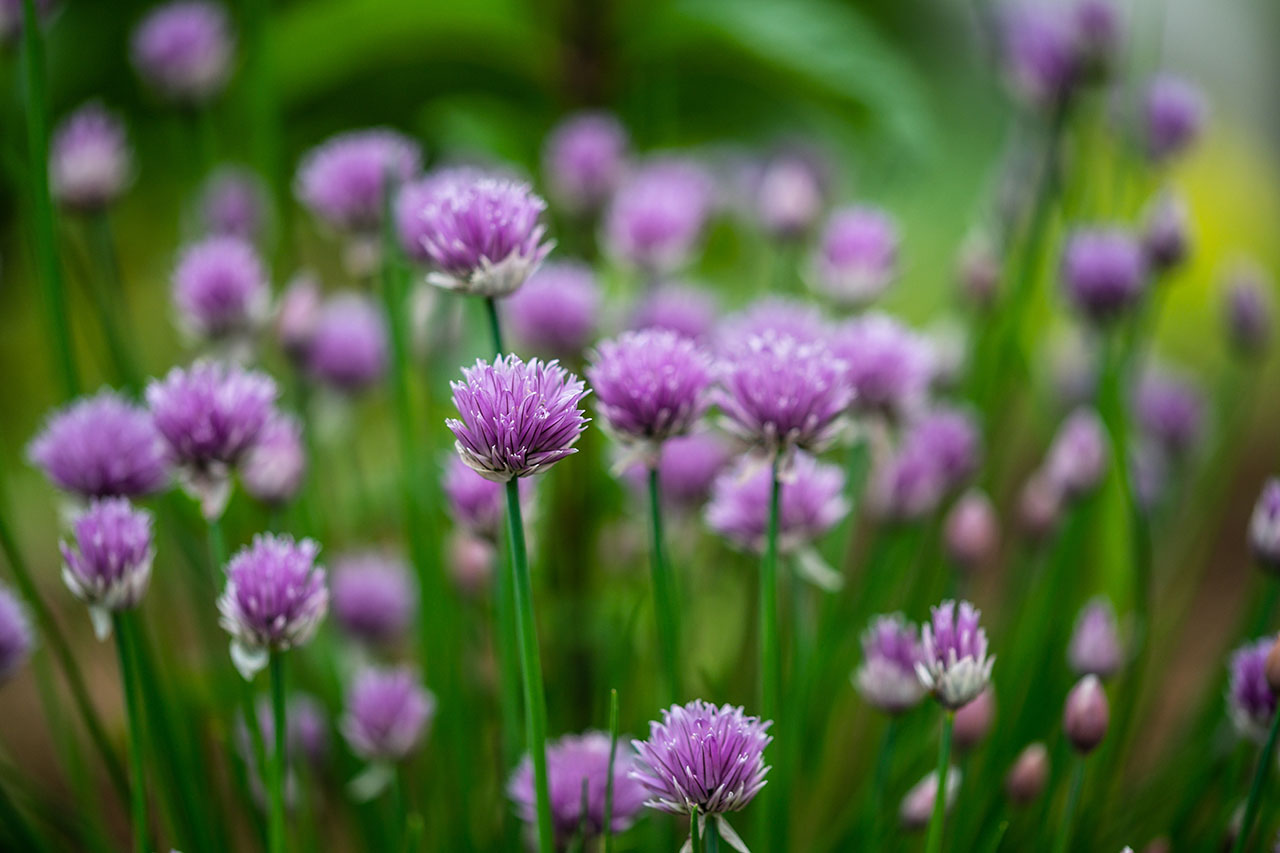
Flowers That Add Flavor
These flowers contribute both color and flavor. If this is a first attempt at baking with flowers, chive blossoms and nasturtiums are excellent places to start.
- Chive blossoms – Mild onion flavor and one of the easiest flowers to use in savory baking.
- Nasturtiums – Orange, yellow, and red flowers with a peppery flavor similar to arugula.
- Arugula flowers – Small white flowers with a mild peppery flavor. They may not be as showy as some edible flowers, but they're a useful option when little else is blooming.
- Garlic chive flowers – Similar to chive blossoms but with a stronger garlic flavor.
- Bee balm – Flowers with mild citrusy and herbal notes.
- Sage flowers – Delicate blooms with a light sage flavor.
- Thyme flowers – Tiny flowers with a concentrated thyme flavor.
- Oregano flowers – Pink-purple flowers with a mild herbal taste.
- Basil flowers – White, pink, or purple blooms with a familiar basil flavor.
- Lavender – Fragrant flowers best used sparingly.
- Rose petals – Aromatic petals that can range from mildly sweet to lightly spicy, depending on the variety.
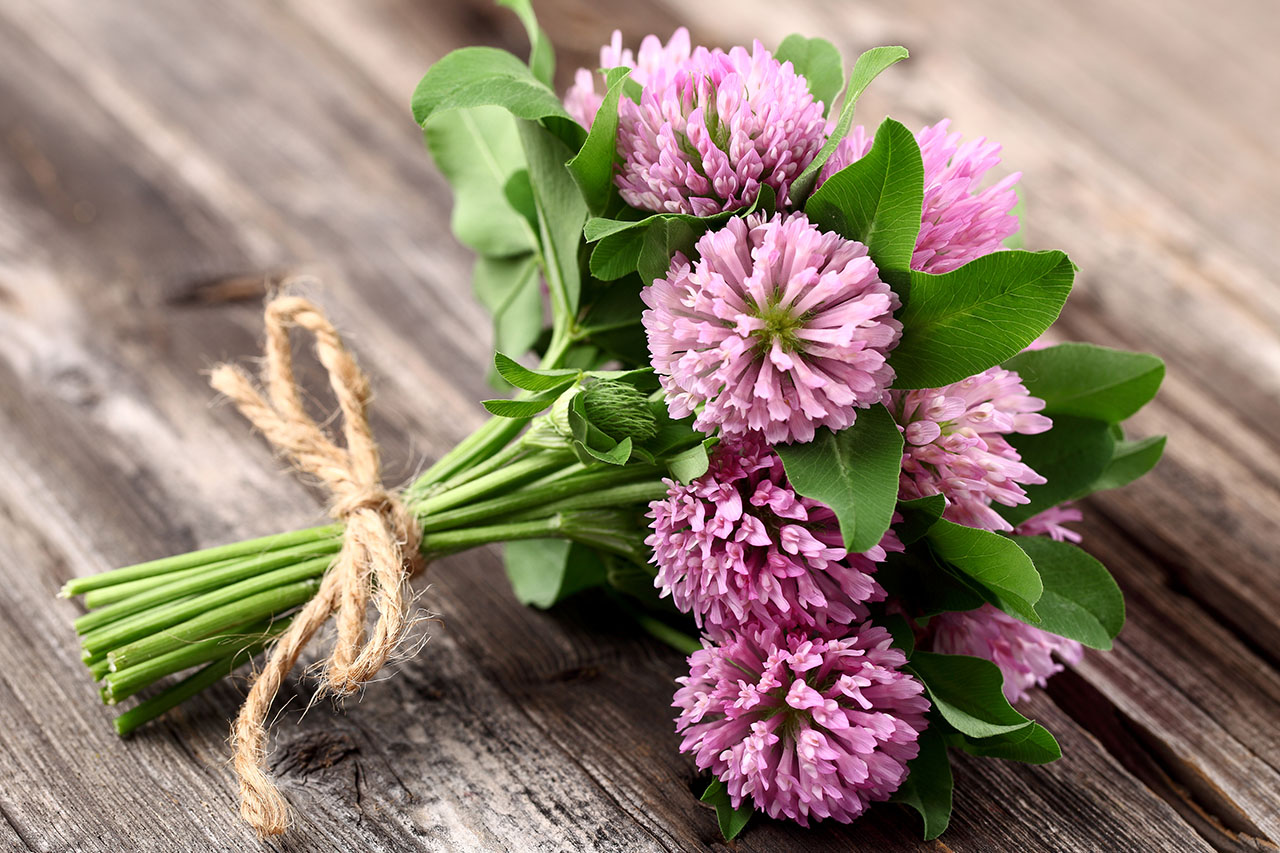
Other Good Choices
Many other edible flowers can find a place on a flower focaccia. These can be used for color, flavor, or simply because they happen to be blooming at the right time.
- Red clover blossoms – Pink blossoms with a mild sweetness.
- White clover blossoms – Mild flowers that work well as white accents.
- Catnip flowers – White to pale lavender flowers with a distinctive flavor and aroma.
- Catmint flowers – Lavender-blue flowers with a flavor reminiscent of a blend of catnip and mint.
- Elderflowers – Cream-colored flower clusters with a distinctive floral aroma.
- Yarrow flowers – Flat flower clusters that can add yellow, white, pink, or red accents, depending on the variety.
Want to learn more about the gifts of these edible flowers?
Check out the comprehensive Plant Profiles on HerbMentor. These Plant Profiles take a deep dive into the specific indications, preparations, and contraindications for each plant. HerbMentor is our online herbal learning community that gives you access to in-depth herbal classes, a community forum, live classes, and more. Whether you’re a seasoned herbalist or an emerging herb nerd, HerbMentor gives you the tools you need to enrich and deepen your herbal studies. Learn more about HerbMentor here.
A Note on Flower Safety
Only use flowers that have been positively identified and grown without pesticides, herbicides, or other garden chemicals. Never assume a flower is edible simply because it is attractive or commonly grown in gardens. As with herbs and other foods, individual sensitivities are possible, so when trying a new flower for the first time, start with a small amount.
Here are a few frequently asked questions about flower focaccia bread...
Can any edible flowers be used for focaccia bread art?
Many edible flowers work well on focaccia, but some hold up to baking better than others. Chive blossoms, nasturtiums, calendula, cornflowers, and bee balm are among the easiest choices. Delicate flowers may lose some color during baking, which is why this recipe adds them near the end.
Do the flowers actually add flavor?
Some do and some don't. Chive blossoms, garlic chive flowers, nasturtiums, bee balm, basil flowers, thyme flowers, oregano flowers, and many other edible flowers contribute noticeable flavor. Others, such as cornflowers and violas, are used mainly for their appearance.
Can dried flowers be used instead of fresh?
Yes. Dried flowers can also be used. Calendula and rose petals, along with chive florets, create a scattered, natural effect, while pressed whole flowers, such as violets and borage, can look just as beautiful as fresh flowers or even better because they retain their shape during baking.
Can this recipe be made without flowers?
Absolutely. The dough works just as well with traditional focaccia bread toppings such as rosemary, garlic, sea salt, olives, red onions, spring onions, tomatoes, or cheese. And you can still make bread art with these toppings! Simply arrange your focaccia bread art as desired, and bake as directed for 25 to 30 minutes, rotating the pan halfway through. If using parmesan cheese, add it during the last 5 minutes of baking.
Can sourdough starter be used instead of yeast?
Sourdough focaccia is a wonderful alternative to yeasted bread making methods. Replace the yeast with ¼ to ½ cup (50–100 g) of active sourdough starter. Whisk together the water, sourdough starter, honey, and olive oil. Add the flour and salt, then mix until a very sticky dough forms. Cover the dough and let it rise for 12 to 14 hours. By the end of that period, it should have at least doubled in size. The dough will look airy and stringy when removed from the bowl.
Follow the instructions in Step 2 of the "Shaping and Baking the Flower Focaccia" section. However, instead of resting the dough for 15 minutes, let it rise for about 2 hours. Then continue with the instructions in Step 3, baking at 425°F (220°C), and continue making your garden art focaccia.

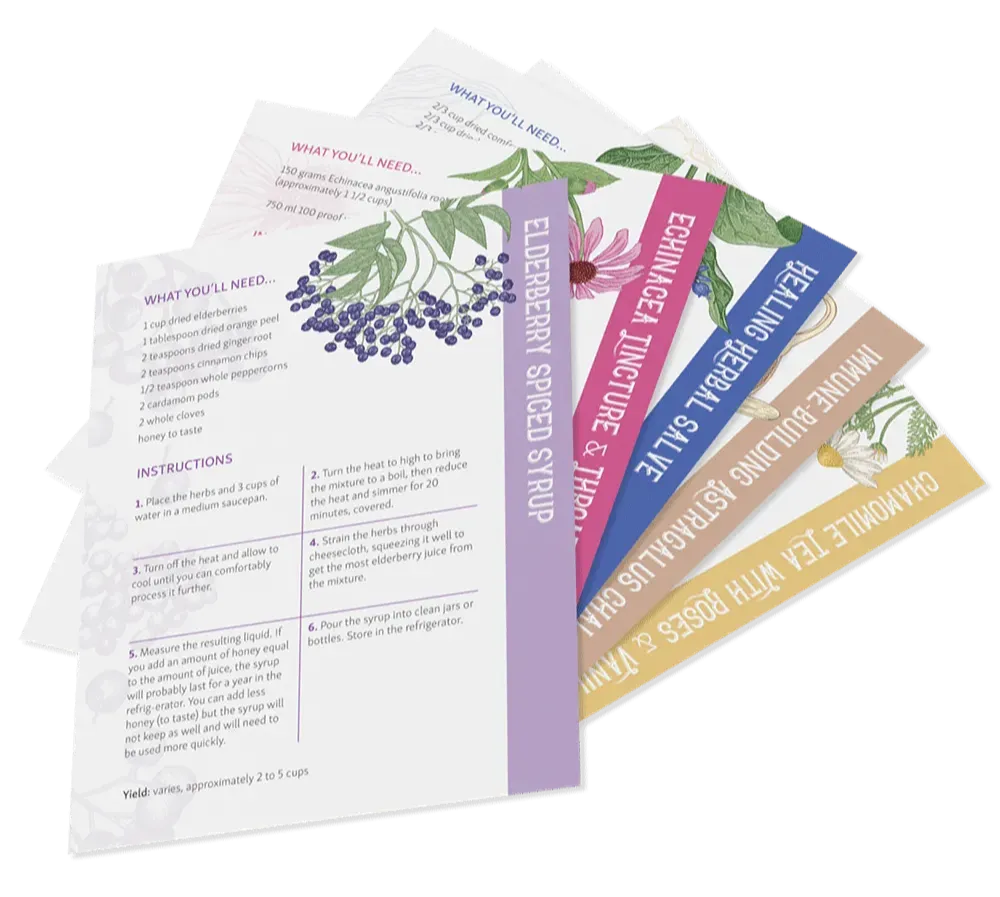
The Herbal Remedy Vault has all of our printable recipe cards...