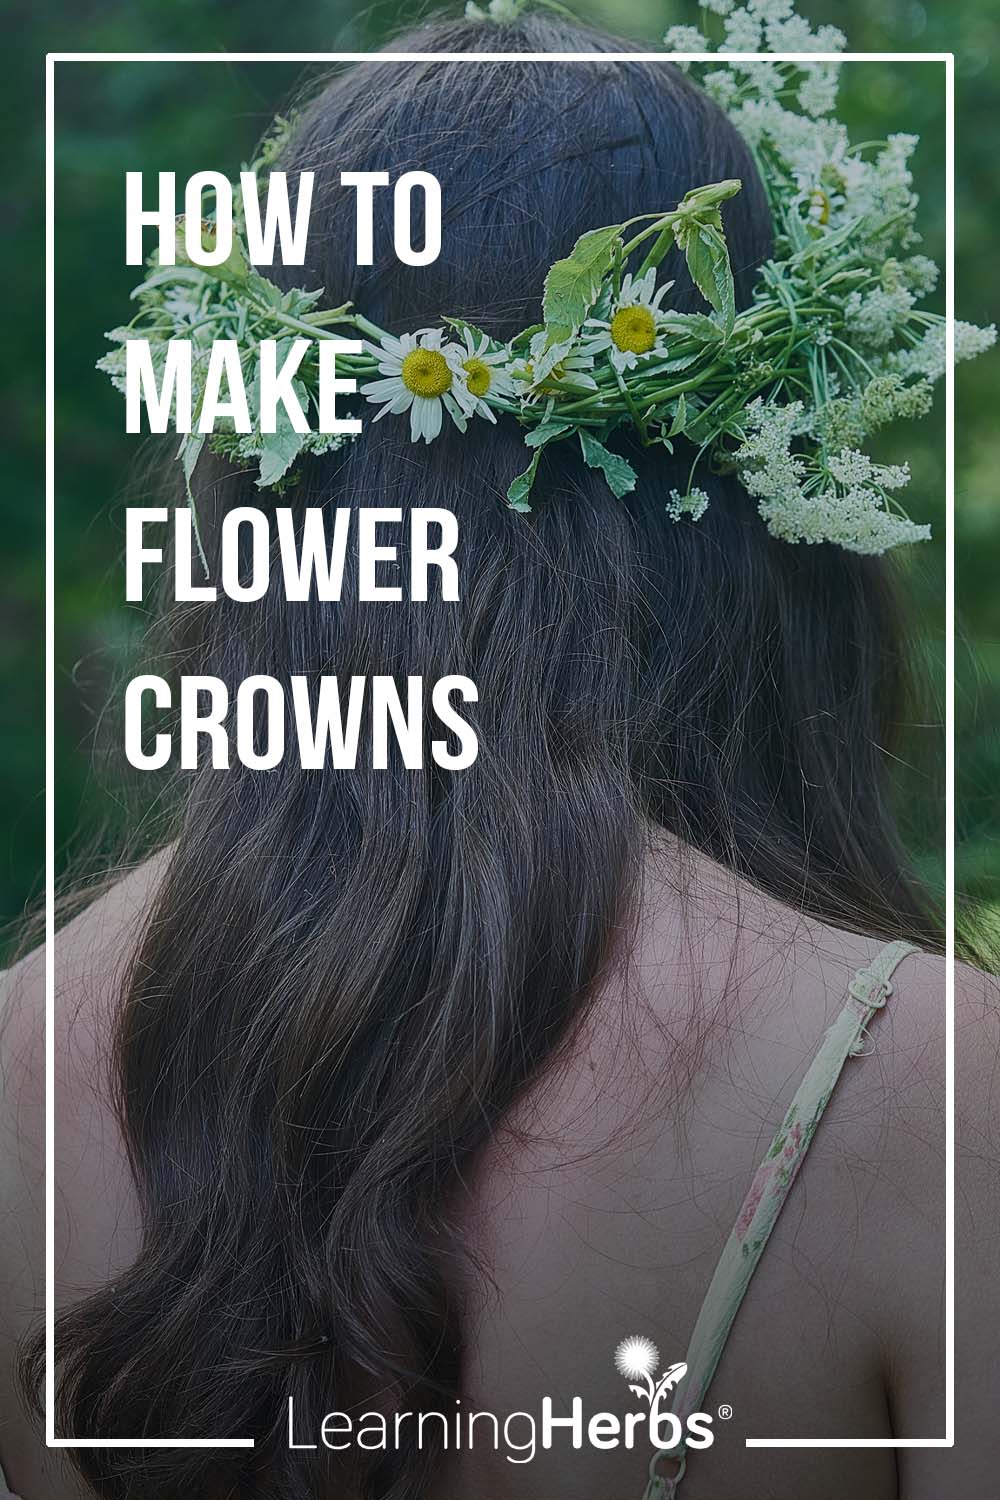
How to Make Flower Crowns
Making a flower crown is a wonderful way to slow down and get creative with what’s growing right outside your door. Using flexible-stemmed flowers like dandelions (taraxacum officinale) or oxeye daisies (leucanthemum vulgare), this easy weaving technique is perfect for all ages and skill levels. Whether you're making a flower crown for your wedding day or crafting with kids, you’ll end up with a wearable piece of natural art—and a lovely memory to match.
To make a flower crown at home, you only need a few simple materials: fresh flowers, string or a sturdy blade of grass, and a little time. This approachable technique doesn’t require any fancy tools (like floral wire or floral tape); you just need your hands and a bit of patience. Once you get the hang of weaving your flower crown, it can be a soothing, almost meditative experience.
Ready to begin? Let’s gather some blooms and start crafting your crown…
How to Weave a Floral Crown
With simple flowers, this easy weaving technique helps you craft a lovely flower crown. Whether you're using dandelions from the backyard or a mix of wildflowers, the process is relaxing and rewarding, and the result is something sweet to wear or share.
What you’ll need…
- A generous bouquet of 20–30 medium-sized flowers with flexible stems (e.g., dandelions) to ensure enough length to fit around your head
- String or sturdy grass blade (for tying)
- Scissors (optional, for trimming stems)
Instructions
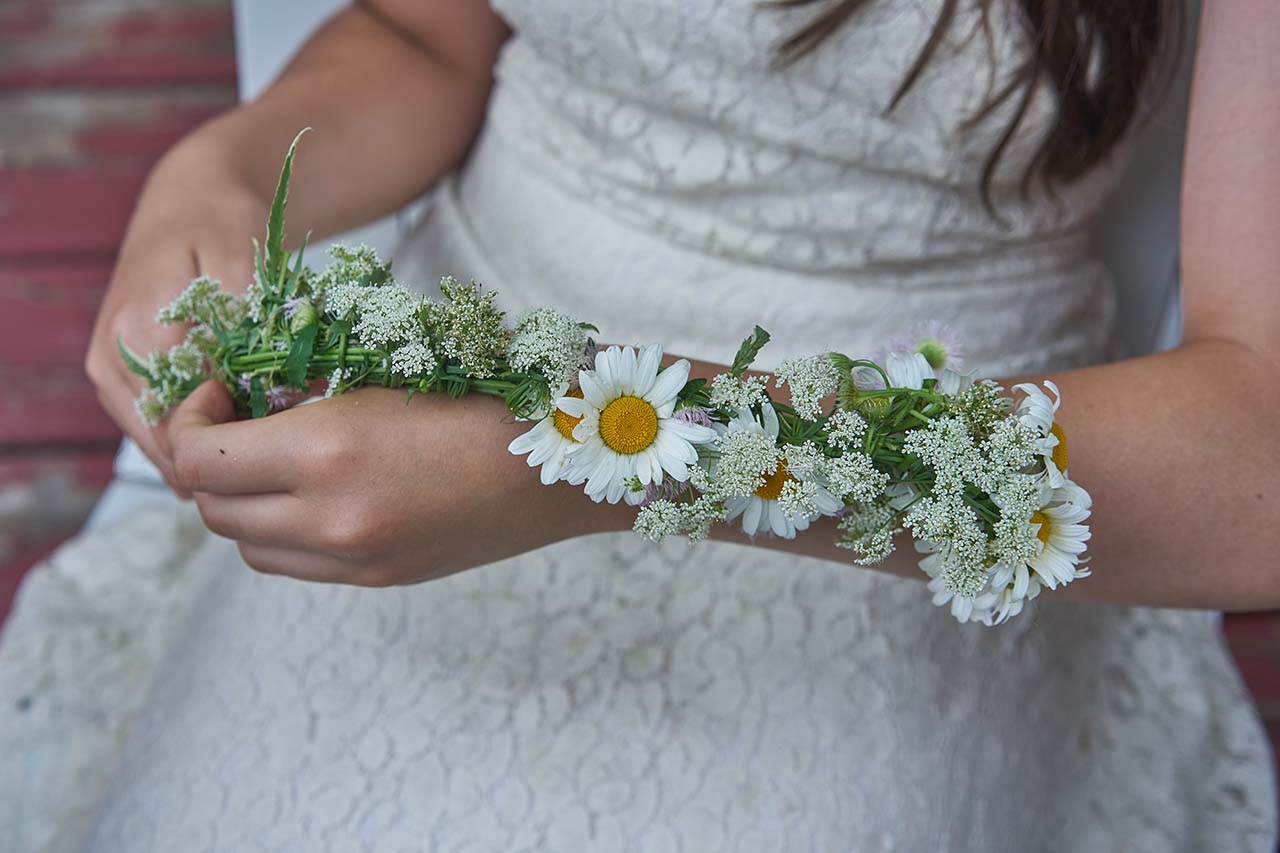
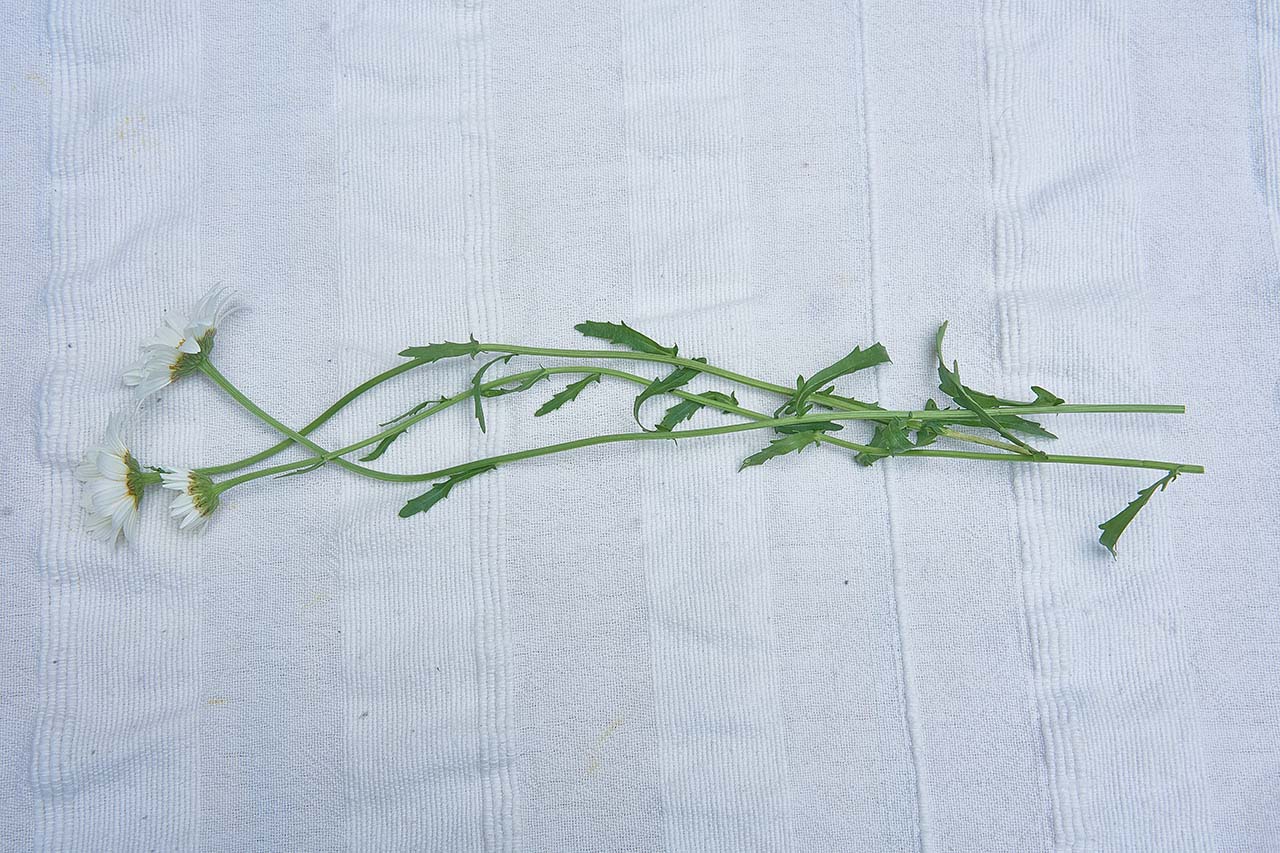
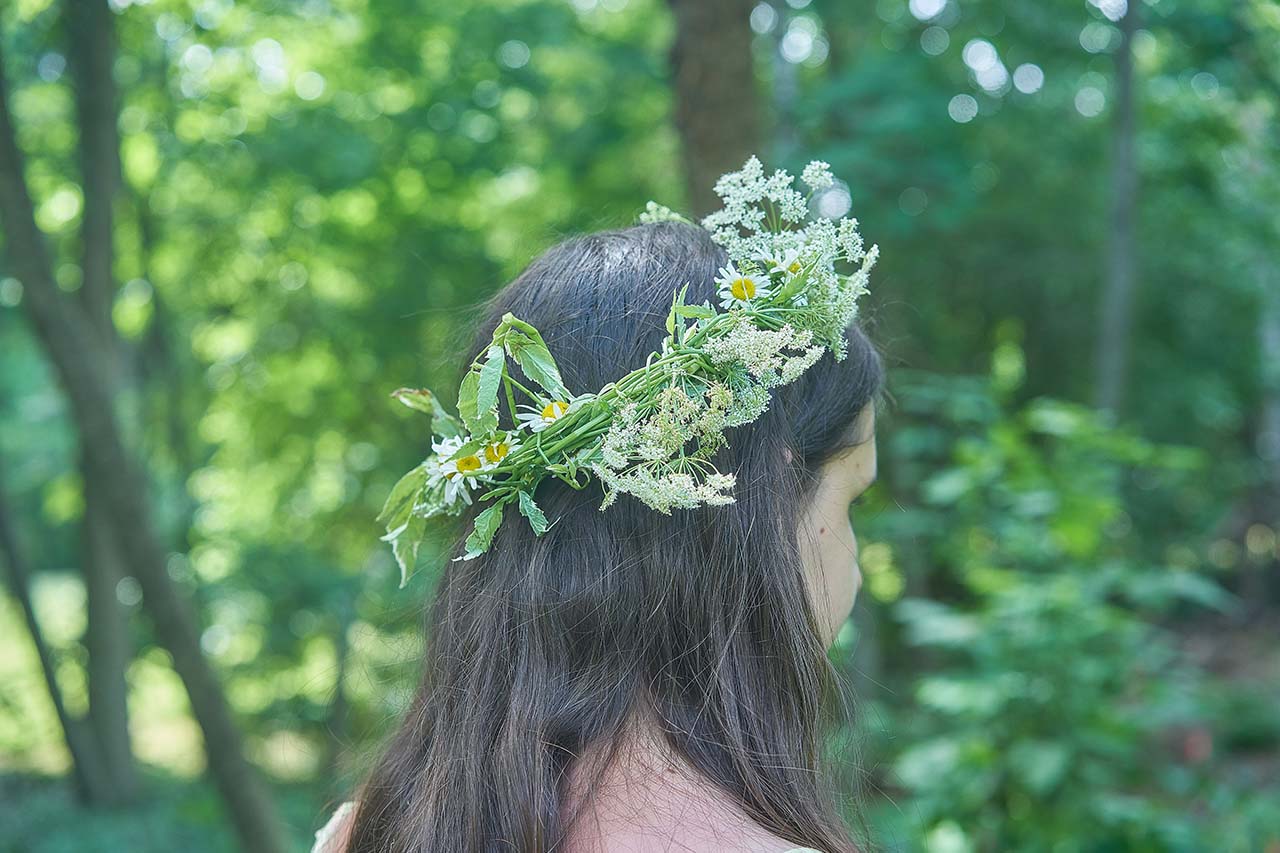
- Gather 3–4 medium-sized flowers (in the photographs, we’re using oxeye daisies and goutweed, aegopodium podagraria) with long flexible stems. Hold them horizontally to form a small bundle, keeping the stems aligned.
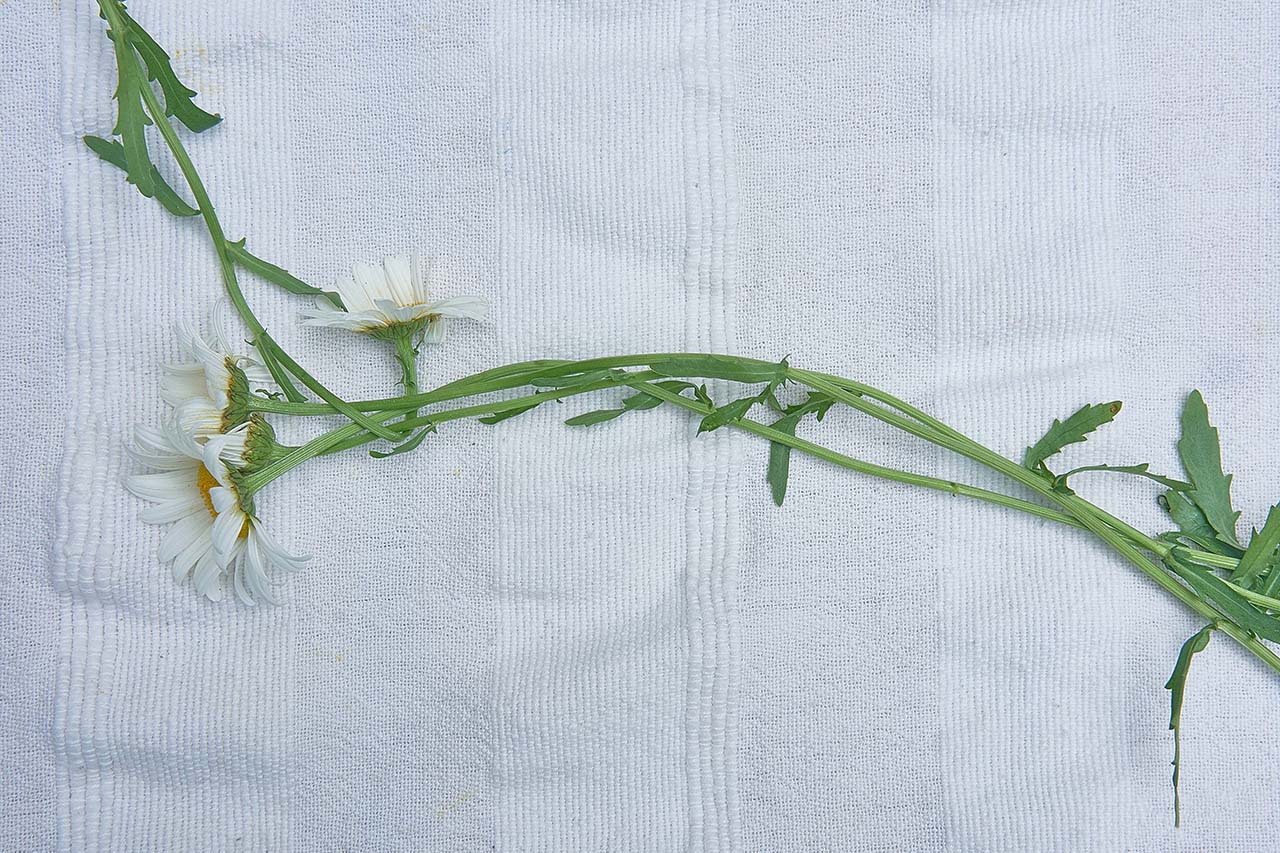
- Take a new flower and place it vertically behind the bundle, with the flower head near the bundle’s blooms. Fold the stem upward so the end comes forward, in front of the bundle.

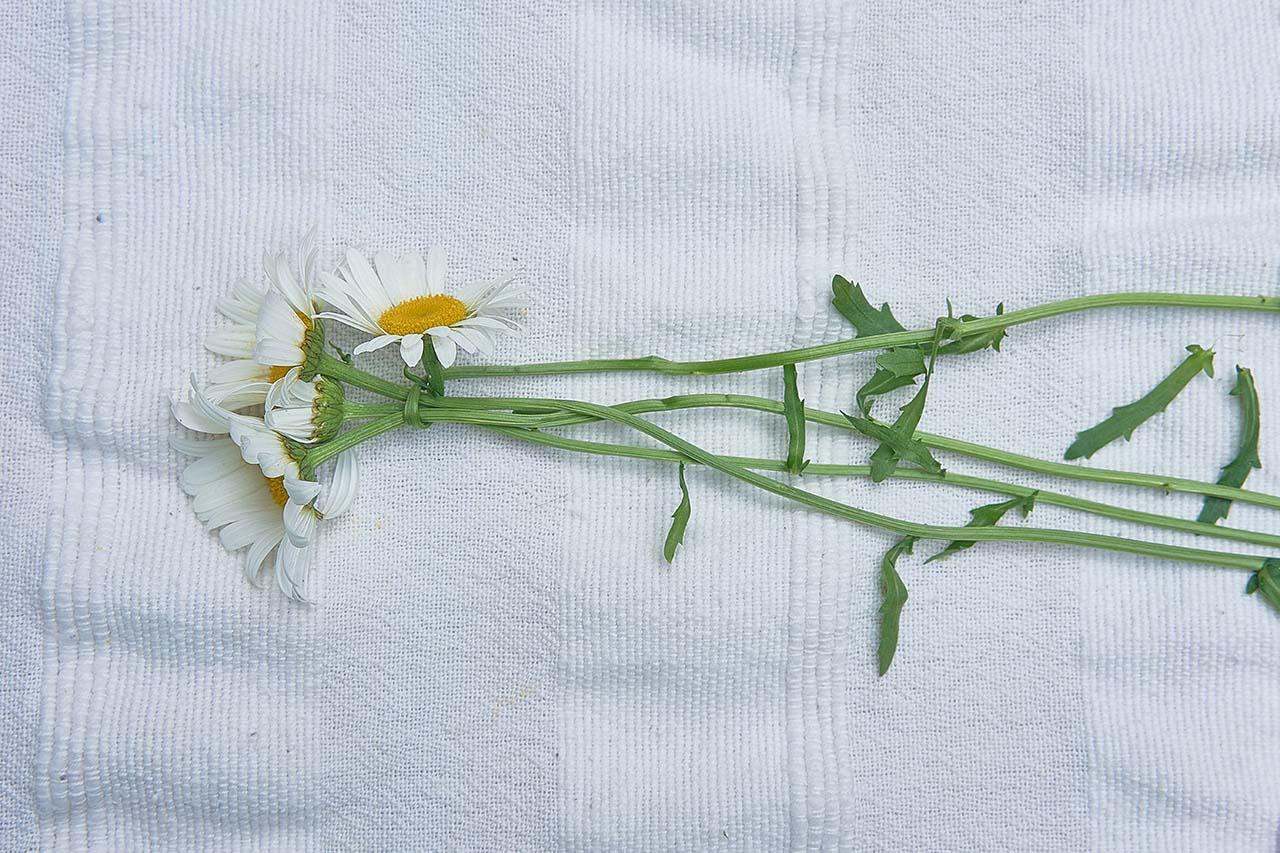
- Thread the vertical flower’s stem behind its own flower head, then tuck it in with the bundle’s stems, securing it tightly. Repeat steps 2–3 with additional flowers, weaving each new stem into the growing chain.
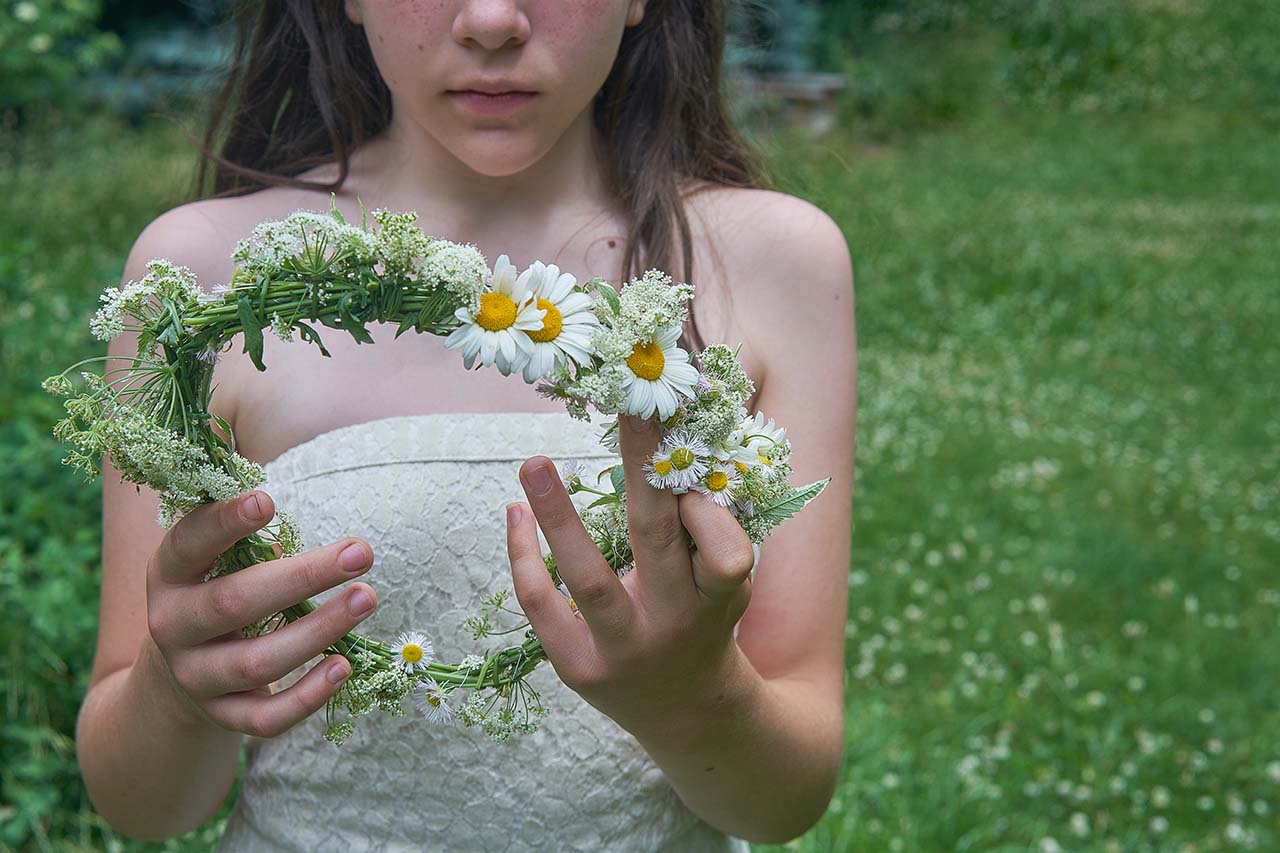
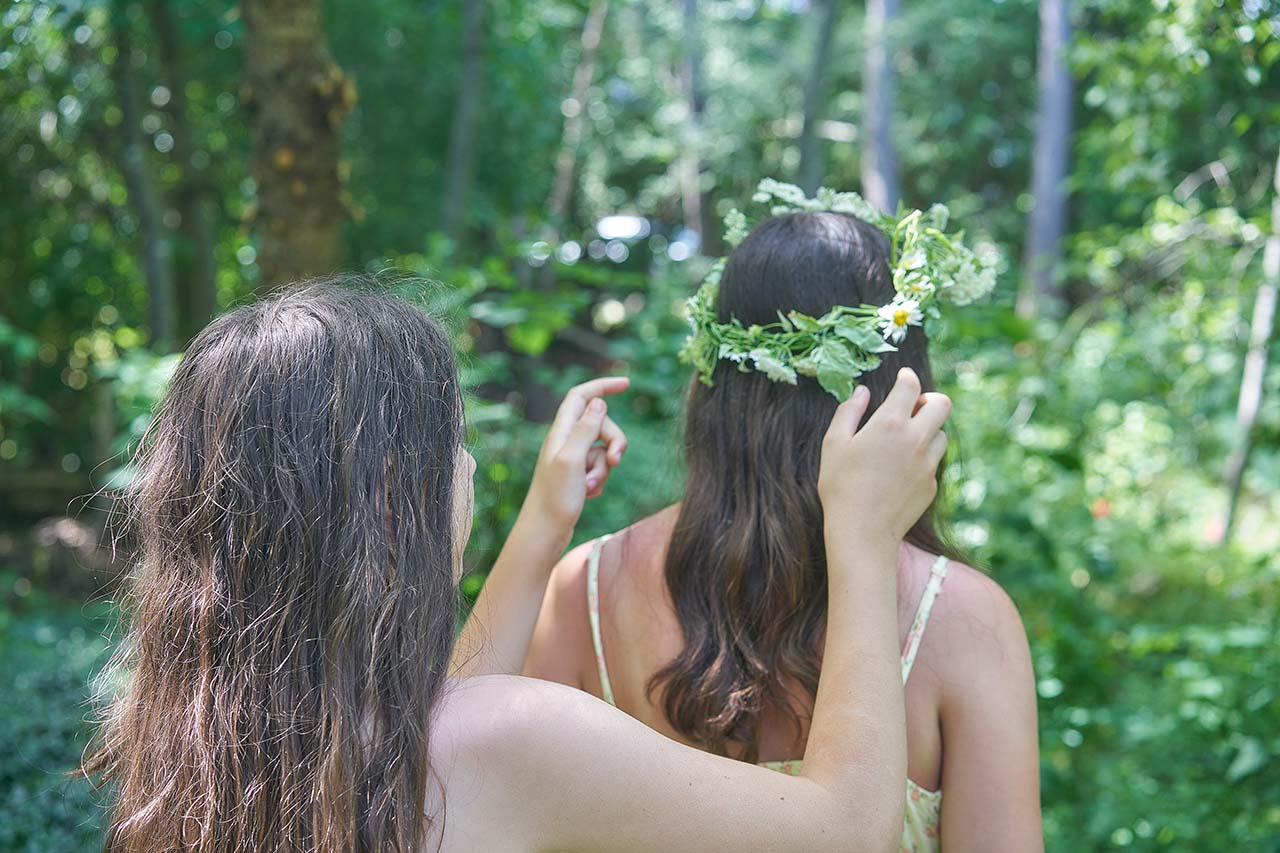
- Continue adding and weaving flowers until the garland is long enough to fit around your head. Tie the ends together with string or a sturdy grass blade to complete the crown.
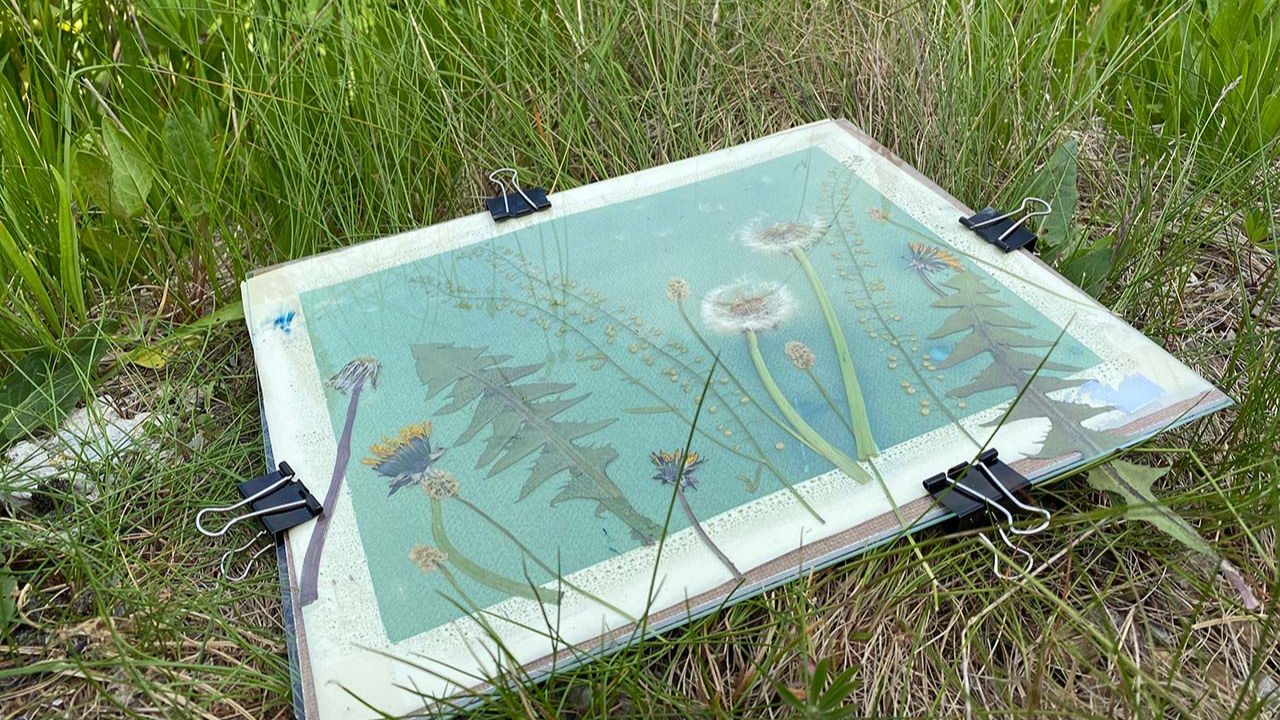
- To preserve your crown, hang it in a cool, dry place out of direct sunlight for several days. This will help the flowers dry while keeping their shape. Just remember, once dried, the crown will be delicate—more for display than for wearing.
A note on preserving: Flower crowns aren’t usually meant to last—part of their magic is how fleeting they are, meant to be worn and enjoyed in the moment. That said, if you’d like to keep yours a little longer, some flowers (like yarrow or clover) dry better than others. Alternatively, if you want to preserve your flower crown, try using flowers known for their long-lasting beauty when dried—such as strawflowers, other everlastings, or special-occasion blooms—grown specifically for their ability to retain color and shape.
What Flowers Should I Use For My Flower Crown?
There are so many wonderful flowers you can use in your flower crown. It’s helpful to work with plants that have flexible flower stems. Some of my favorite flowers to work with include dandelions, marigolds, lavender, chamomile, clovers, oxeye daisies, and rosemary. Some of these flowers are also medicinal herbs, and wearing them as a flower crown can be a wonderful way to connect with these powerful healing herbs.
Want to learn more about the gifts of these medicinal flowers? Check out the comprehensive Plant Profiles on HerbMentor. These Plant Profiles take a deep dive into the specific indications, preparations, and contraindications for each plant. HerbMentor is our online herbal learning platform that gives you access to in-depth herbal classes, a community forum, live classes, and more. Whether you’re a seasoned herbalist or an emerging herb nerd, HerbMentor gives you the tools you need to enrich and deepen your herbal studies. Learn more about HerbMentor here and join today for just $1.
Using Fresh or Dried Flowers
Using the technique I’ve outlined above, it’s generally easiest to work with fresh flowers. You can also make the flower crown while the flowers are fresh and then dry it to create a preserved crown. This way, you can wear the crown (carefully!) throughout the year—for midsummer, Halloween, winter solstice, and more. Dried flower crowns work especially well with everlastings or larger, special-occasion flowers like roses or peonies. You can also use this technique to create a flower garland for decoration.

What Tools Do I Need?
This DIY flower crown project doesn’t require any fancy tools like floral wire, wire cutters, or glue. All you need is a bouquet of flowers, some string or a sturdy blade of grass, and a pair of scissors for trimming the stems. With this simple technique, you can easily create a beautiful flower crown at home—perfect for celebrations, play, or just enjoying the beauty of nature.

The Herbal Remedy Vault has all of our printable recipe cards...