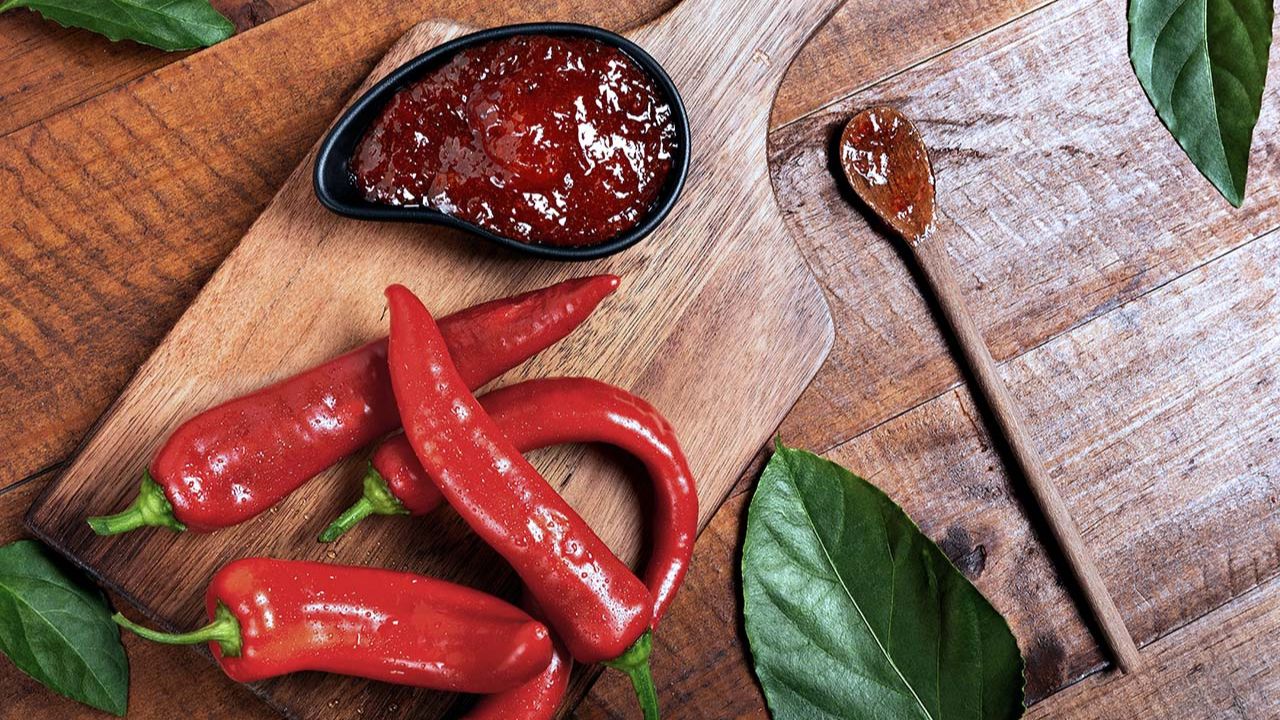
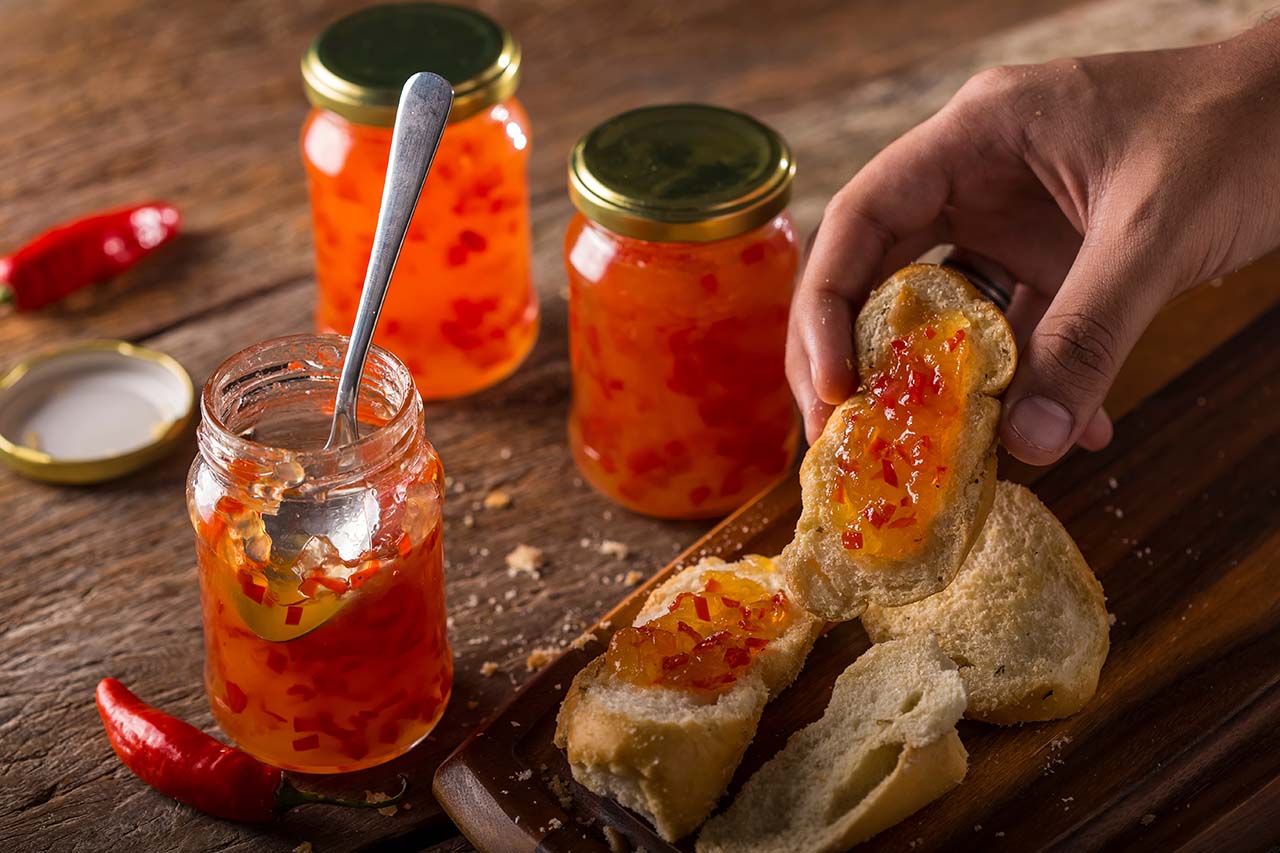
A Tasty Pepper Jelly Recipe
Have you ever wondered why medicine can’t taste sweet? What if I told you it can?
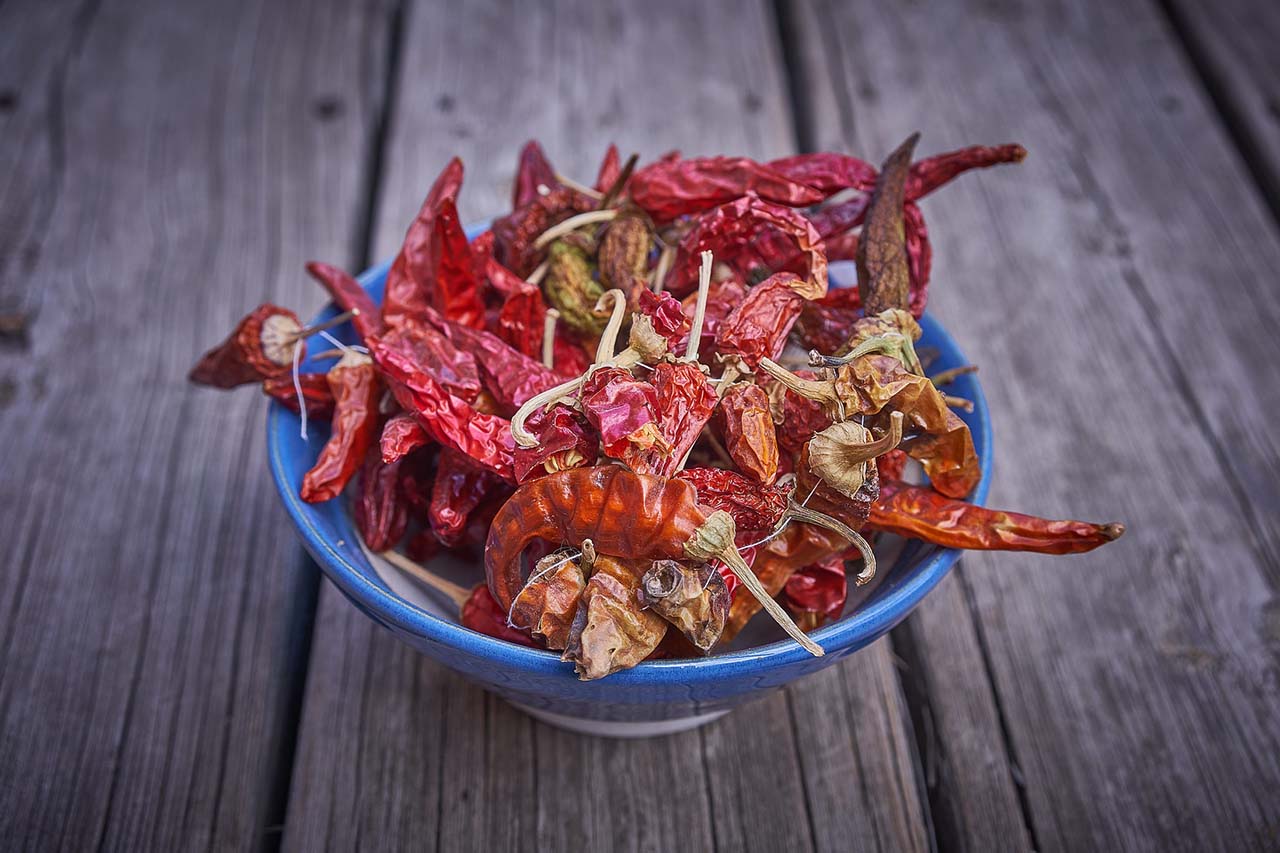
With summer in full swing, my garden is overflowing with ripening fruits and vegetables, including my favorite: hot garden peppers! I love growing these vibrant little packets of heat and joy. Peppers’ range of colors, shapes, and spice levels makes them one of the most exciting crops to grow. We dry them, freeze them, toss them into meals, and add them to pickled veggies for a pop of color. But my absolute favorite thing to make with them is pepper jelly.
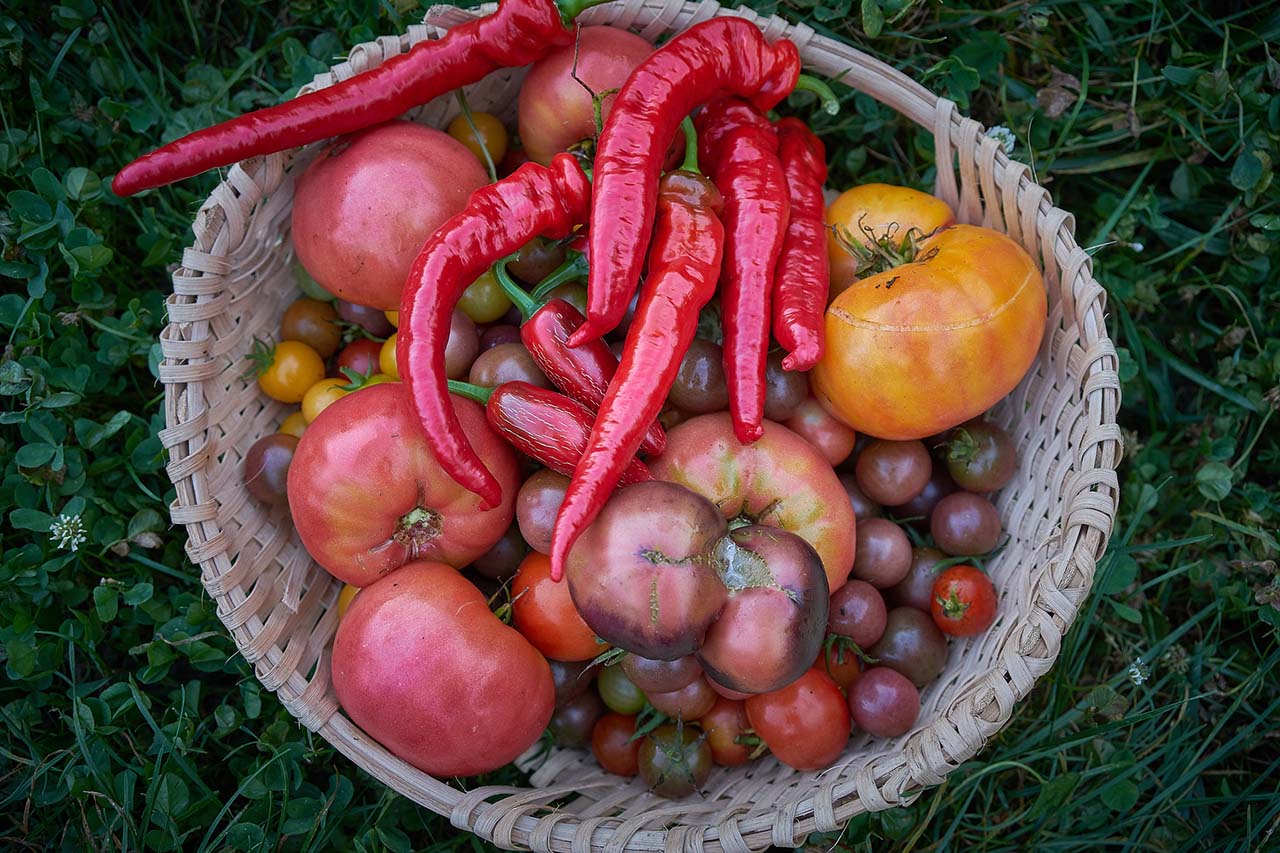
This versatile condiment can be made with whatever peppers you have on hand. Jalapeños and chilies offer a mild heat, while habaneros and serranos turn up the spice. You can keep it sweet, too; or, for a medicinal twist, go heavy on the cayenne.
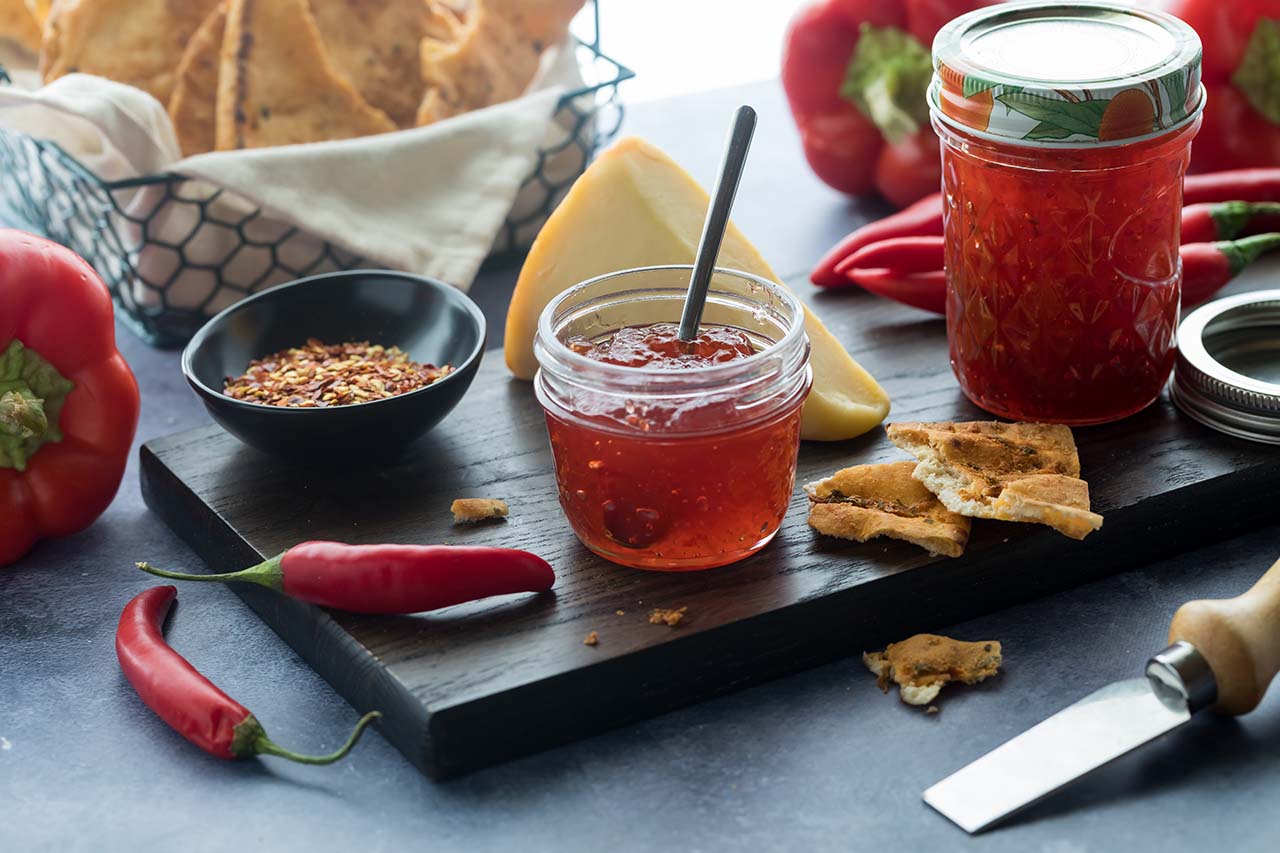
Paired with soft cheese and sourdough discard crackers, pepper jelly can warm you up on the coldest winter day: bringing back the bright, bold flavors of summer.
Pepper Jelly Master Recipe (with Pectin)
To make pepper jelly, start by choosing a base fruit; this will be the foundation for your jelly’s flavor and texture. Most fruits will need a bit of help setting properly, so you’ll typically add pectin, a natural thickening agent, to get that classic jelly consistency.
To discover your favorite flavor combos, feel free to experiment with different fruits using this master recipe as your starting point.
Note: Some fruits (like apples, quinces, and citrus) are naturally high in pectin. If you're using one of these as your base, you can skip the added pectin and follow the variation for jelly without it.
What you’ll need…
- 3 pounds of fruit (see note), chopped
- 3 ounces of hot peppers (adjust to taste), cored and chopped
- 1 sweet bell pepper, cored and chopped (optional)
- Juice of 1 lemon
- 2 to 2¼ cups white vinegar (5% acidity), or adjust amount to taste
- About 2 cups of water (just enough to cover the ingredients)
- 2–3 cups sugar (adjust to taste; use anywhere from half the volume of juice to a 1:1 ratio. For example, if you have 1 cup of juice, use between ½ cup and 1 cup of sugar)
- 1 (2-ounce) packet of powdered pectin
- A handful of plums or cranberries for color (optional)
Note about fruit choices:
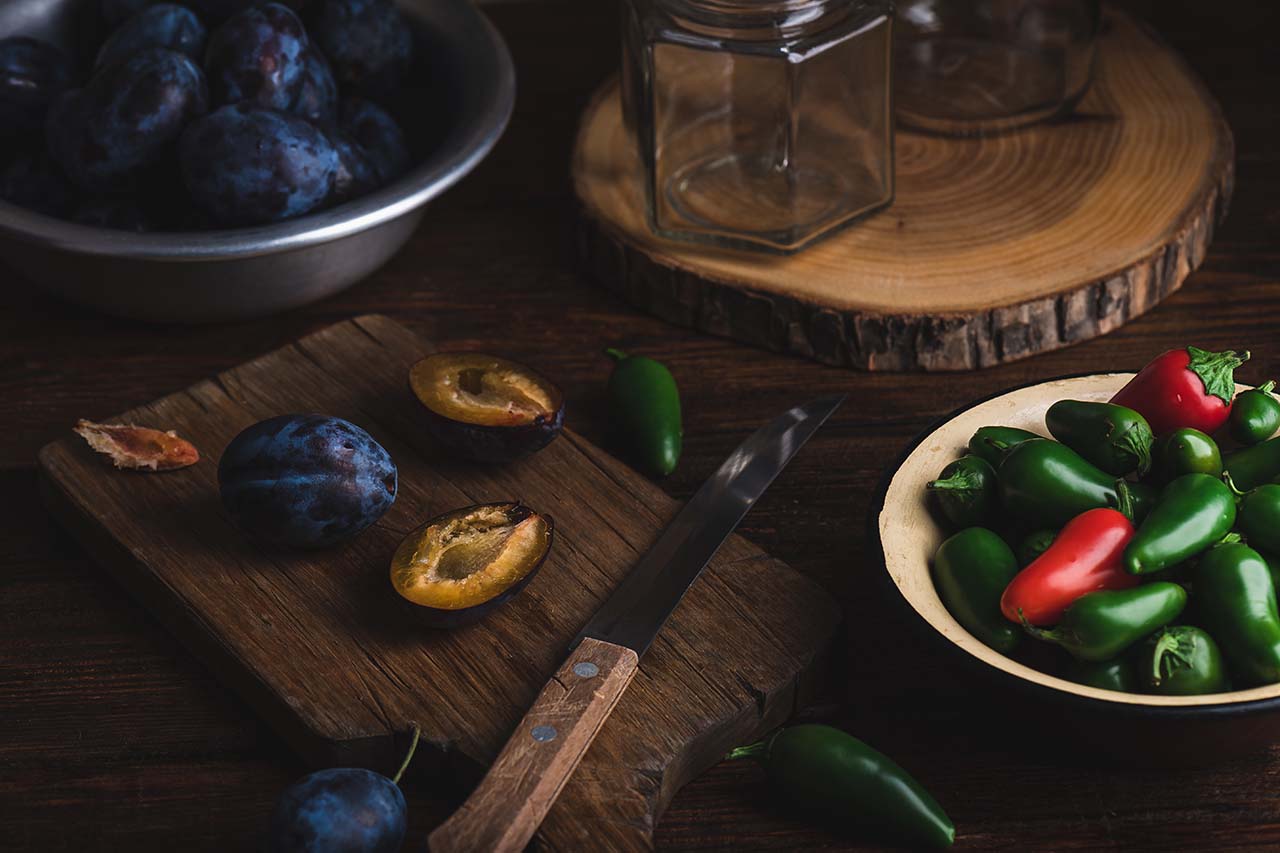
We love using plums or apples in our jellies, but tomatillos, wild cherries (Prunus serotina or Prunus virginiana), cranberries, any other berries, and bits of leftover fruit with some flesh still on them (like peach stones or grape skins) work beautifully too. We also save and use apple cores and skins after processing apples for drying. Don’t be afraid to experiment; use a single fruit or combine a few. Anything goes!
One thing to consider when choosing your fruit: after straining the solids (you’ll only need the fruit syrup for the jelly), you might discover the leftover solids are delicious enough to use as jam. If that’s your goal, opt for fruits with large stones that are easy to remove, like plums, or fruits that can be peeled and cored, like apples. Tomatillos, cranberries, and wild cherries won’t work as well here, since their small seeds can be unpleasant (or in the case of wild cherries, downright torturous) to eat in a jam.
Instructions
- Roughly chop the fruits, removing stems and any other tough bits. If you plan to use the solids after straining the fruit syrup, take a little extra time to remove anything that might be unpleasant to eat, like peels, seeds, or cores (see note). Otherwise, just give everything a rough chop and toss it into a medium cooking pot.
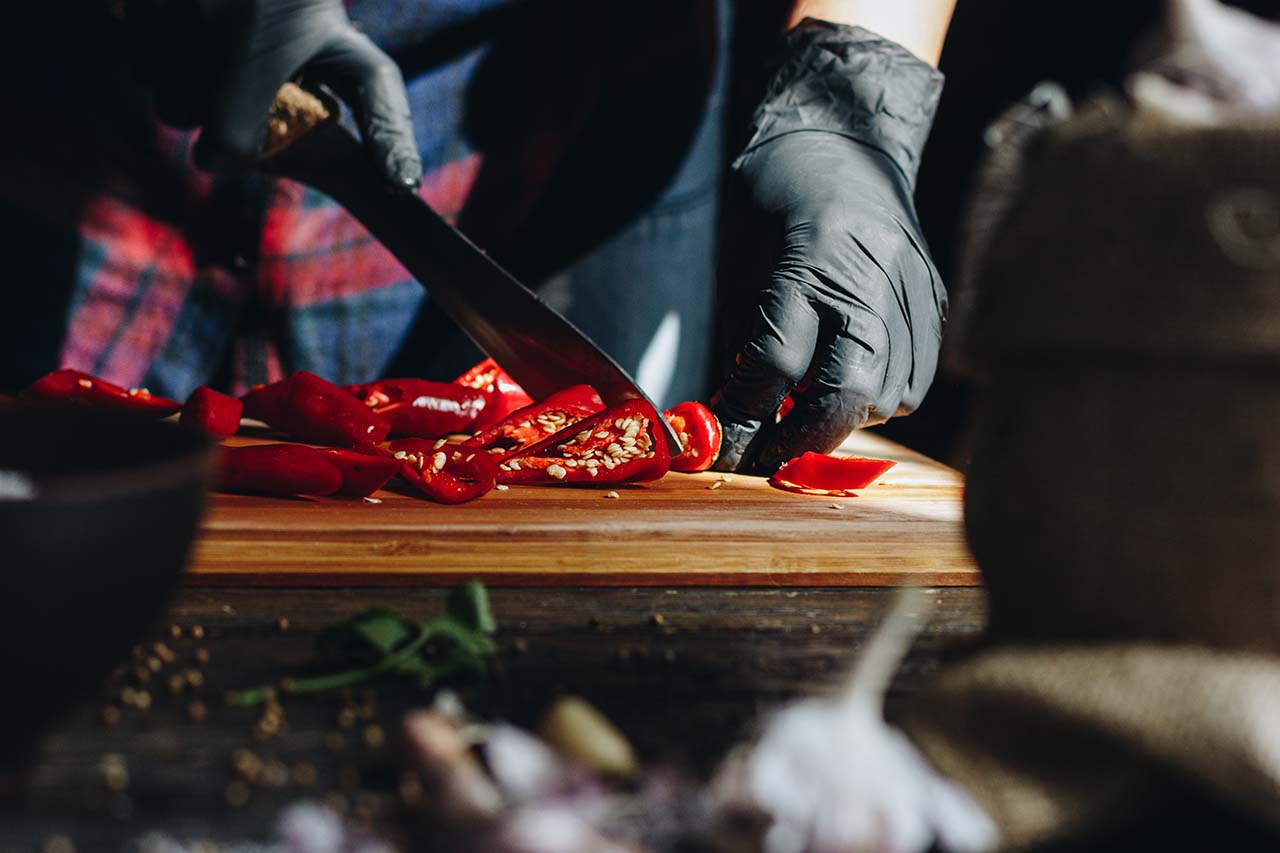
- Core, chop, and de-seed the peppers (taking care to not get pepper juices in your eyes) then add them to the pot. Squeeze the lemon juice and pour it in as well. Cover everything with water, add the vinegar, and bring to a boil. Reduce to medium heat and let it simmer gently (not a rolling boil) until the fruits are softened and starting to break down, about 30 minutes.
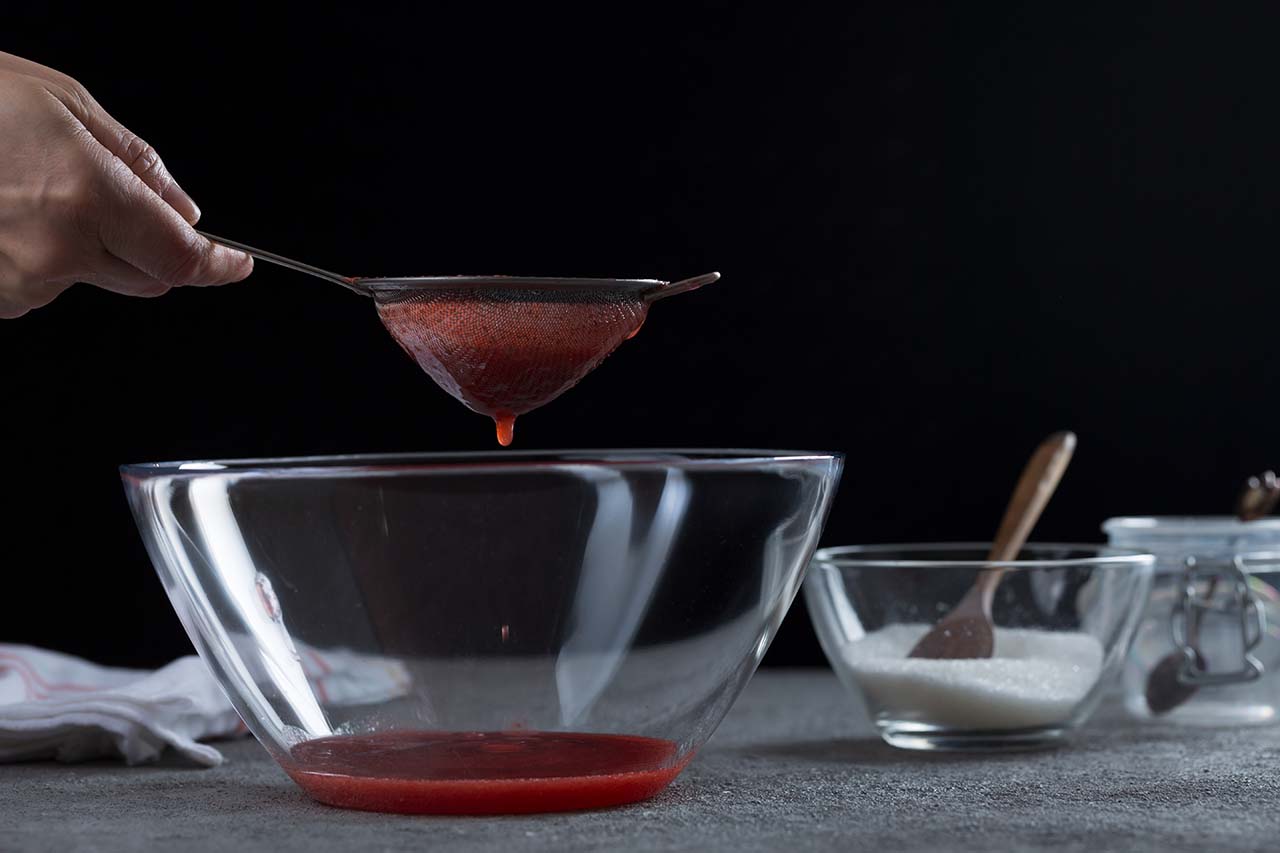
- Using a fine mesh sieve or a jelly bag over a deep bowl, strain out the solids. Let them drain for about 30 minutes—avoid pressing too hard if you want your jelly to remain clear. If you’re not using the solids, discard them. Otherwise, transfer them to a separate cooking pot and set aside.
- Once the juice has finished straining, measure how much you have—you should end up with about 3 cups. If you're a little short, just add a splash of water to make up the difference. It doesn’t have to be exact.
- Rinse the pot you used to cook the fruit, then return the strained syrup to it and add the sugar—anywhere from half the volume of juice to a 1:1 ratio. For example, if you have 1 cup of juice, use between ½ cup and 1 cup of sugar, depending on your taste.
- Bring the mixture to a boil, then cook over high heat until it reaches about 220°F–222°F on a candy thermometer. Alternatively, you can reduce the liquid to about one-third or even one-quarter of its original volume. If you're unsure about the thickness, let a spoonful cool to check the consistency: if it’s thick and syrupy like honey, it’s ready; if it’s still watery or like maple syrup, boil it a bit longer. Using a thermometer is the faster, more reliable method.
- While the jelly is still hot (but no longer boiling and with the heat turned off), add powdered low- or no-sugar pectin according to the manufacturer’s instructions. You may need to wing it a bit: pectin brands often have their own recommended ratios of sugar to juice. For the amount described above, I usually use about 1 oz (½ packet) of powdered pectin, which is enough for a good set. Alternatively, you can use 1–2 teaspoons of powdered pectin per cup of jelly, dissolved in a little water, if you prefer a firmer texture. Feel free to experiment with whatever brand you have on hand. If the jelly hasn’t set after cooling completely, you can always add a bit more pectin.
- At this point, you can ladle your jelly into jars and enjoy it fresh, or preserve it by water bath canning for later use. If you choose to can, I recommend using half-pint jars since a little jelly goes a long way. Half-pint jars typically require about 5 minutes of processing in a boiling water bath. Please make sure to follow proper water bath canning techniques before you start, as canning safety is beyond the scope of this article.
Yield: About 3 cups (24 fluid ounces), or 3 half-pint jars
Making Jam with the Strained Solids
Once your jelly is done, you can return to the strained solids. Measure their volume and add sugar—anywhere from half their volume up to a 1:1 ratio. If the solids are too thick, add a little water or some leftover juice to reach a smooth, jam-like consistency. Bring the mixture to a boil, stirring to dissolve the sugar and reduce the liquid to a syrupy texture. When you’re happy with the consistency, enjoy the jam right away or preserve it by canning for later use.
Yield: About 1 to 2 cups of jam, or 1–2 half-pint jars, depending on the volume of strained solids and how much the mixture is reduced during cooking.
Note: If you choose not to can your jam or jelly, you can store it in a sterilized, clean jar with a lid in the refrigerator. Sterilizing the jar helps ensure freshness and prolongs shelf life. Thanks to the sugar content, it will keep for quite a while, though over time the sugar may sometimes crystallize. But honestly, it’s usually so tasty, you’ll probably eat it before that happens!

Pepper Jelly Master Recipe (without Pectin)
If you want to enjoy a better texture and rich flavors from natural, unadulterated fruits while avoiding artificial ingredients, stick to pectin-rich fruits: especially apples (like green varieties such as Granny Smith) or other fruits known for their high pectin content.
What you’ll need…
- 3 pounds of green apples, chopped
- 3 ounces of hot peppers (adjust to taste), cored and chopped
- 1 sweet bell pepper, cored and chopped (optional)
- Juice of 1 lemon
- 2 to 2¼ cups white vinegar (5% acidity), or adjust amount to taste
- About 2 cups of water (just enough to cover the ingredients)
- 2–3 cups sugar (adjust to taste; use anywhere from half the volume of juice to a 1:1 ratio. For example, if you have 1 cup of juice, use between ½ cup and 1 cup of sugar)
- A handful of plums or cranberries for color (optional)
Notes and Instructions
If I don’t want to use pectin, I always stick to apples as my base fruit. Sometimes I combine them with others like plums or peaches, but apples remain the foundation. They pair nicely with the flavors peppers bring, are widely available, and I usually have plenty of apple discards during the harvest season. If I have space in the freezer and no peppers yet, I toss the cores and peels into a ziplock bag to save for later.
For this recipe, I usually make jelly only, meaning I don’t turn the solids into jam. This approach lets me use whatever I have on hand—bruised apples, discards, or even half-eaten apples that didn’t quite meet my kids’ standards, as well as apples that have fallen to the ground.
That said, I definitely recommend trying other fruits high in pectin content. I believe in working with what’s available and in season, but I’m sure there are plenty of other wonderful options out there to explore.
- To make the pectin-free jelly, follow all the steps from the previous recipe, but skip step 6, which describes adding pectin.
- Depending on your fruit choices (see note above), you may want to skip step 8, which explains how to turn the solids into jam.
Hot Peppers Benefits
Hot peppers (varieties like cayenne Capsicum annuum and chili Capsicum frutescens) are not only delicious but also packed with health benefits. They contain capsaicin, the compound that gives them their heat, which has been shown to boost metabolism, reduce inflammation, and relieve pain. Hot peppers are rich in vitamins A and C, which support immune function and skin health. They may also help improve digestion by stimulating stomach juices and have antioxidant properties that protect cells from damage. Incorporating hot peppers into your jelly recipe is a tasty way to enjoy these benefits while adding a flavorful kick to your homemade preserves.
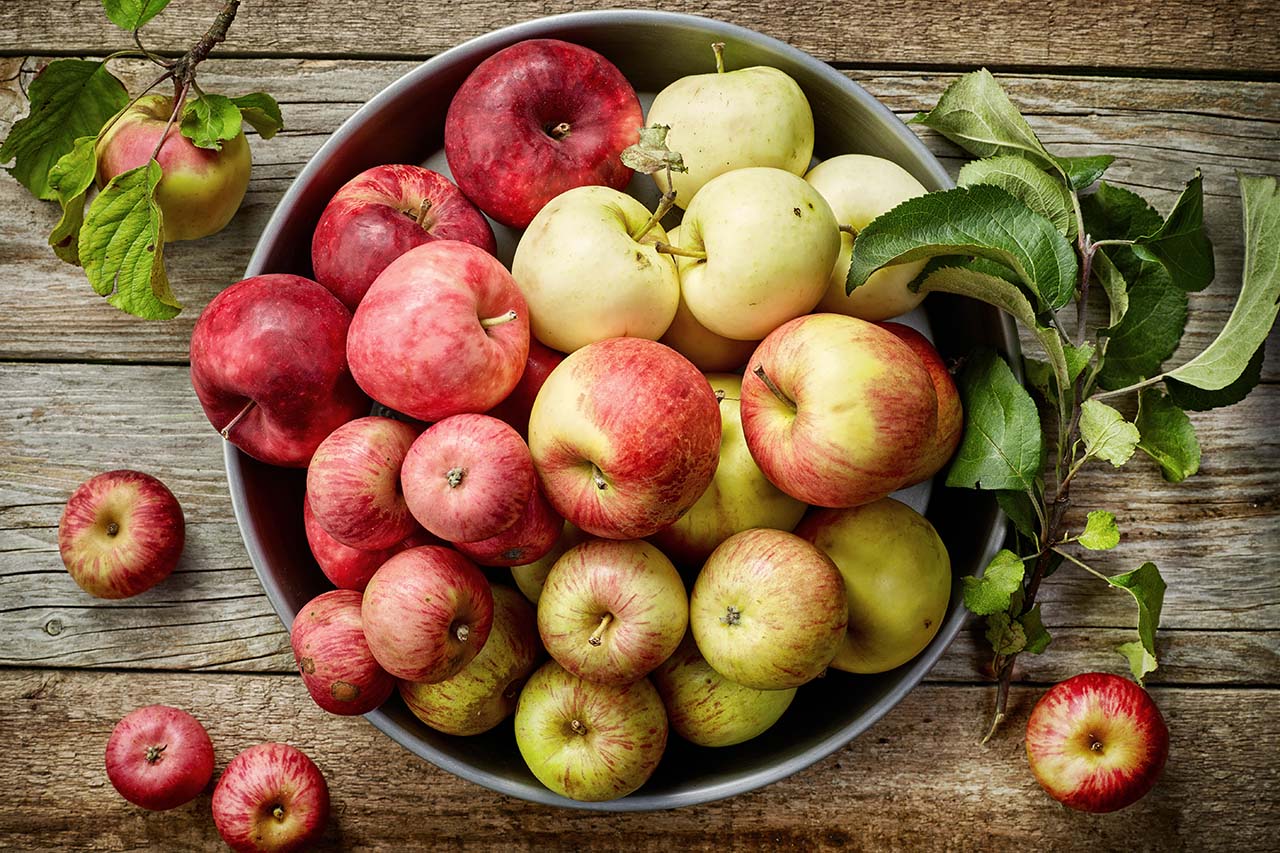
Apple Benefits (Malus domestica)
Apples (Malus domestica) are more than just a tasty fruit—they’re a gentle powerhouse of health benefits. Rich in dietary fiber, especially pectin, apples support healthy digestion and help maintain balanced blood sugar levels. Their natural antioxidants, including quercetin and vitamin C, help reduce inflammation and protect cells from oxidative stress. Apples are also known to promote heart health by supporting healthy cholesterol levels and improving circulation. Traditionally, apple infusions and cider vinegar have been used to aid in detoxification and boost the immune system. Using apples as a base in your jelly not only enhances flavor and texture but also brings these natural wellness benefits into a delicious, homemade treat.
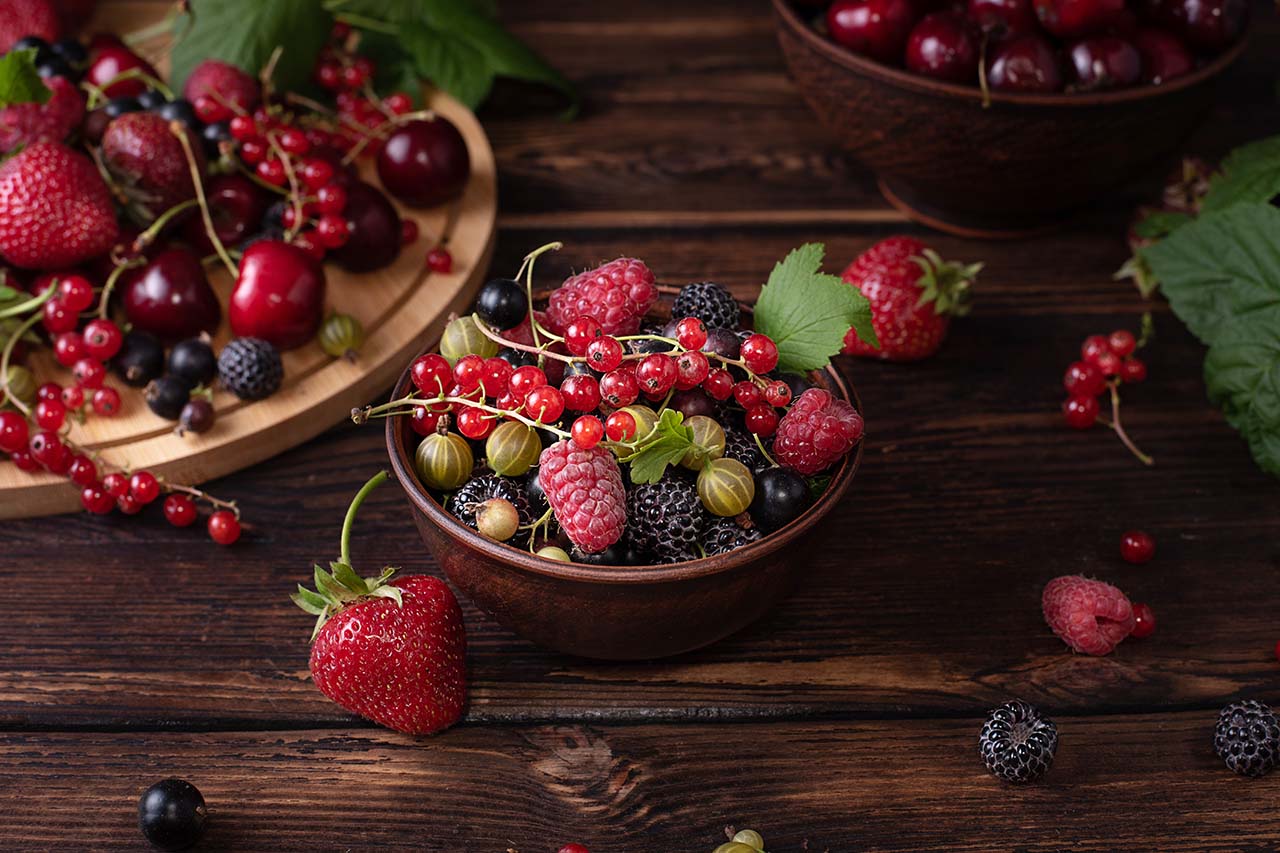
Other Fruits and Berries Benefits
Plums (Prunus domestica), wild cherries (Prunus serotina or Prunus virginiana), cranberries (Vaccinium macrocarpon), and dark berries such as black currants, blueberries, blackberries, and elderberries each offer distinct herbal benefits. Plums are rich in antioxidants and dietary fiber, which support digestion and help reduce inflammation. Wild cherries have long been valued for their anti-inflammatory and pain-relieving effects, often aiding joint health and soothing coughs. Cranberries are renowned for promoting urinary tract health by preventing bacteria from adhering to the urinary tract walls. Blueberries, blackberries, and elderberries are packed with potent antioxidants and immune-boosting compounds, making them excellent additions to a nourishing diet. Including these fruits in your pepper jelly not only adds vibrant flavor and color but also brings their natural health benefits into a delicious, versatile treat.
A Note on Why Your Jelly Keeps the Good Stuff, Even After Processing
Making your own hot pepper jelly at home is a fantastic way to enjoy a tasty condiment that still holds onto many of the amazing benefits of its ingredients! Sure, the cooking process might reduce some vitamins, like vitamin C, by about 20–50%, but your homemade jelly retains plenty of the good stuff: like fiber and antioxidants from apples, and spicy capsaicin from peppers that’s great for your metabolism. Unlike store-bought jellies, which are often packed with sugar and heavily processed, your jelly keeps more of those natural nutrients, making it a healthier, zesty treat you can feel good about. Best of all, you can tweak it to suit your taste, making every bite both tasty and good for you!
Want to learn more about how you can creatively nourish yourself in the kitchen? Check out our Culinary Herbalism series on HerbMentor with K.P. Khalsa. K.P. offers simple tips for bringing nutrient-dense herbs into your kitchen without sacrificing taste—in fact, every recipe he shares tastes delicious! Learn more about HerbMentor here.
Here are some frequently asked questions about hot pepper jelly…

Do I need to use food dye in my jelly?
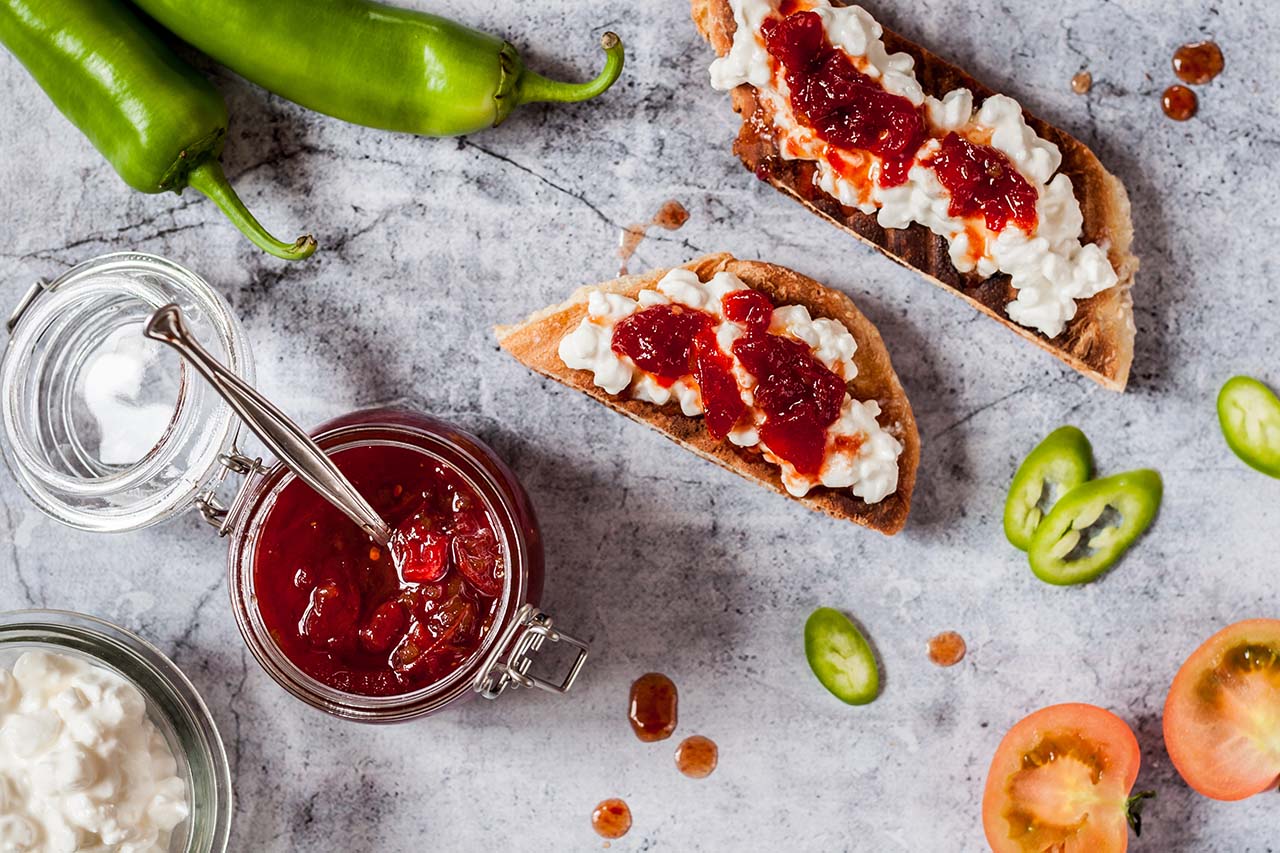
Some recipes suggest adding a drop of food coloring, but I find that using artificial dyes in homemade preparations feels a bit counterproductive. It’s surprisingly easy to get vibrant, beautiful colors naturally by choosing the right fruits. Red or pink hues come easily from ripe red peppers, especially with the addition of plums or even just a handful of cranberries. Green is a bit trickier, but tomatillos paired with green peppers create a lovely natural shade that’s easy on the eyes—and better for your health.
How can I control the heat level when making hot pepper jelly?
To keep the heat milder, make sure to core the peppers and remove all seeds and membranes, since these parts contain most of the heat. You can also choose milder pepper varieties or mix hotter peppers with sweeter ones to balance the spice.
Can I make pepper jelly without vinegar?
Vinegar plays an important role in pepper jelly: it adds acidity that helps with preservation and balances the flavors. Without vinegar, the jelly might not set properly or keep safely for long. If you prefer a less tangy taste, you can try using a milder vinegar (like apple cider vinegar) or reduce the amount slightly, but completely leaving it out isn’t recommended for safety and texture reasons.
Can I make pepper jelly without sugar or with less sugar?
Sugar sweetens, helps set, and preserves pepper jelly. Reducing sugar can affect texture and shelf life, and making it without sugar is tricky since it may not gel or keep well. For lower sugar, try natural sweeteners like honey or fruit juice, but expect a different consistency and store refrigerated for quick use.
What are some good ways to use hot pepper jelly?
Hot pepper jelly is super versatile! It’s delicious spread alongside soft cheeses like cream cheese or goat cheese, served with crackers or sourdough bread. You can use it as a glaze for grilled meats or roasted veggies, mix it into salad dressings or marinades for a sweet-and-spicy kick, or even add a spoonful to sandwiches and burgers for extra flavor. It also makes a great accompaniment to charcuterie boards or can be stirred into sauces for a hint of heat and sweetness.
How do I safely handle hot peppers when making jelly?
Handle hot peppers carefully to avoid skin irritation or getting heat in your eyes. Whether you’re using a more mild pepper like jalapeno peppers or a spicier pepper like scotch bonnet peppers, always wear gloves, use a sharp knife, and work in a well-ventilated area. Wash hands thoroughly after, and if needed, use oil before soap to remove pepper oils. Avoid touching your face while working.
Can I use frozen peppers for making pepper jelly?
Yes, you can use frozen peppers for pepper jelly! Just thaw them fully before cooking. They may release extra water, so you might need to cook longer or reduce liquid to get the right consistency. It’s a great way to use peppers when fresh ones aren't available.
What’s the difference between pepper jelly and pepper jam?
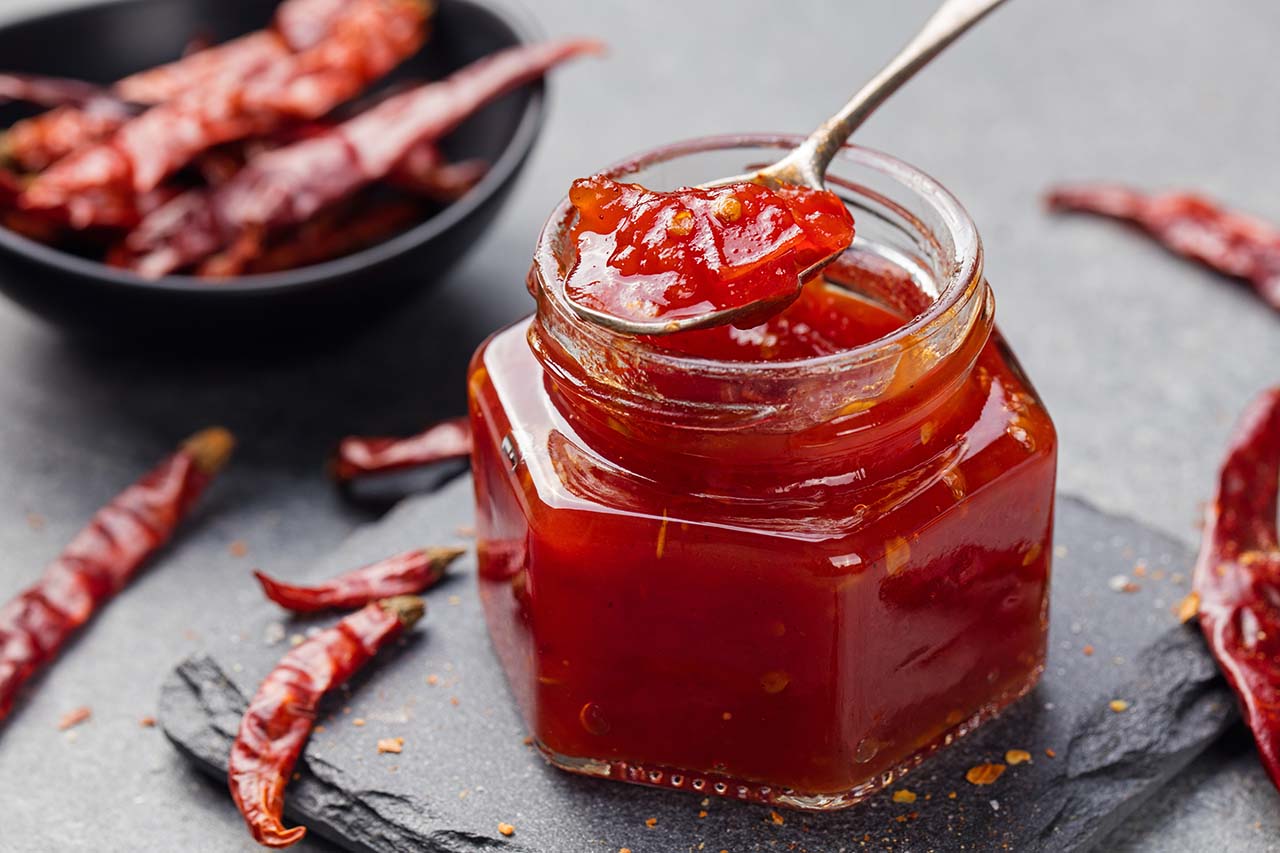
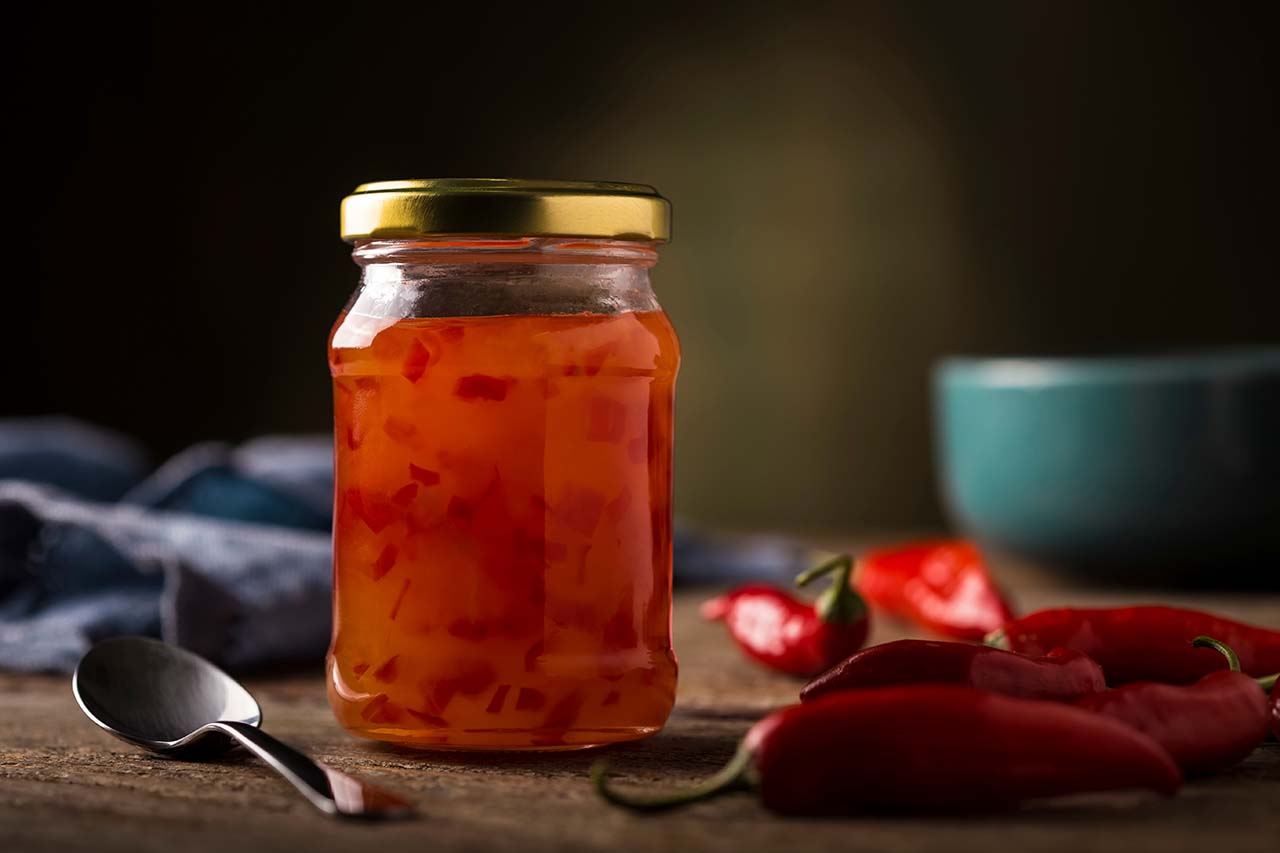
The main difference is texture and appearance. Pepper jelly is clear and smooth because the fruit solids are strained out, leaving just the flavored syrup to set into a jelly. Pepper jam, on the other hand, includes the fruit solids, so it’s thicker, chunkier, and less transparent. Both are delicious, but jelly has a smoother, more delicate texture, while jam is heartier and more rustic.
How can I learn more about canning?
You can learn more about canning jars, canning supplies, and sterilized jars by checking out the National Center for Home Food Preservation's guide to sterilizing jars.

The Herbal Remedy Vault has all of our printable recipe cards...